







Programming a Mitsubishi mini-split remote — whether setting the clock, configuring the timer, adjusting temperature display units, or pairing a new remote — requires navigating a menu system that varies between Mitsubishi's remote models. This guide covers the most common Mitsubishi remote programming tasks for residential ductless systems including the standard wireless remote and the kumo cloud app.
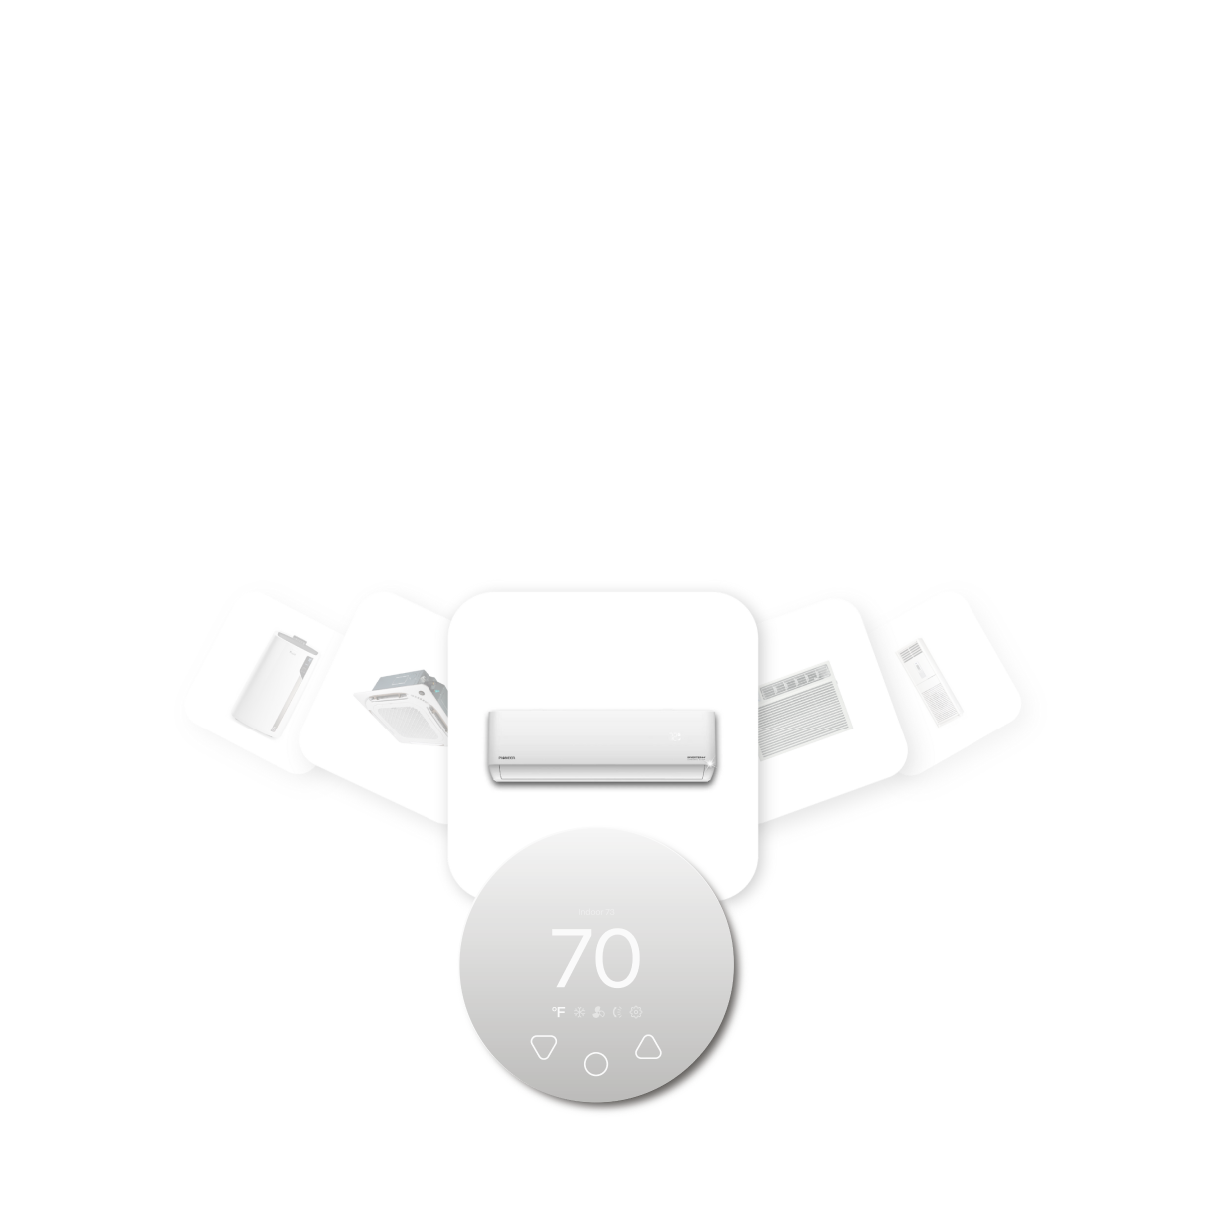
Compatible with all brands of ACs and Mini-Splits
Automate Climate Management
Control remotely
Reduce Energy Consumption
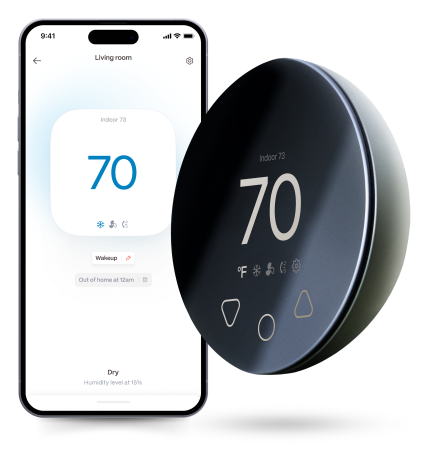
Monitor bills in realtimeKlima - Smart Home Thermostat for Mini-splits, Air Conditioners and Heatpumps
Common Mitsubishi Remote Models
| Remote Model | Used With | Key Feature |
|---|---|---|
| RYK502A100 / MSY Series | MSY, MSZ standard series | Standard wireless; timer; 7-day schedule |
| PAR-33MAA (Wired) | Commercial/advanced residential | Wired wall controller; full schedule programming |
| kumo cloud app | WiFi-connected units with kumo cloud adapter | Remote control; scheduling; energy monitoring |
Setting the Clock on a Mitsubishi Remote
- Press and hold the CLOCK button until the time digits flash
- Use the temperature UP/DOWN buttons to set hours; press CLOCK to advance to minutes
- Use UP/DOWN to set minutes
- Press CLOCK (or SET) to confirm — the clock stops flashing when saved
Programming the ON/OFF Timer
- Press the TIMER ON button — the ON time digits flash on the display
- Use UP/DOWN buttons to set the desired ON time in 10-minute increments
- Press TIMER ON again to confirm
- Repeat with TIMER OFF to set the desired off time
- Verify both timer indicators appear on the display
The timer is a one-time event — it activates once and then deactivates. For repeating daily schedules, use the 7-day schedule function or the kumo cloud app.
Switching Between °C and °F
On most Mitsubishi wireless remotes: remove the back cover and locate the small switch or button labelled °C/°F (or a toggle switch on the circuit board). Move the switch to the desired position and replace the cover. On some models, hold the CANCEL and CLOCK buttons simultaneously for 3 seconds to toggle the temperature unit.
Pairing a Replacement Remote
Mitsubishi wireless remotes are not paired to specific indoor units via a coding process — they communicate via infrared (IR) and work with any Mitsubishi indoor unit in line-of-sight range. Simply point the new remote at the indoor unit and it will work immediately with no programming required. If multiple indoor units are within range and you want to control only one, ensure the remote is pointed directly at the target unit.
Stay cool and save more. Use code JONES15 to get 15% off your entire order—no strings attached.
Upgrade your comfort with a Klima today.
Frequently Asked Questions
My Mitsubishi remote displays the wrong time — does that affect the timer?
Yes — the ON/OFF timer and 7-day schedule functions use the remote's clock as their time reference. If the clock is wrong, timers will activate at the wrong time. Reset the clock using the CLOCK button procedure above before programming any timer functions.
Can I use a universal remote with a Mitsubishi mini-split?
Yes — universal mini-split remotes and smart AC controllers that use infrared (IR) learning work with all Mitsubishi residential models. The replacement remote simply needs to transmit the correct IR codes, which universal remotes achieve through a learning process or pre-programmed code library.
Related reading:
→ Mini-Split Scheduling: How to Set a Temperature Schedule
→ Mini-Split Not Responding to Remote: Fix Guide Every Brand
→ How to Make Any Mini-Split Smart Without Rewiring


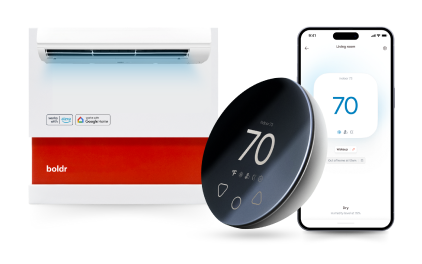
Klima - Smart Home Controller for Mini-splits, Air Conditioners and Heatpumps
Compatible with all brands of ACs and Mini-Splits Automate Climate Management Control remotely Reduce Energy Consumption Monitor bills in realtime
Try NowRecent Articles

Mini-Split Outdoor Unit Clearance 2026 Guide
A mini-split outdoor unit needs air. Lots of it. The condenser pull...
Read More
What Happens if Your Mini-Split Is Too Small?
Most homeowner sizing advice focuses on oversized mini-splits. But ...
Read More
Does a Mini-Split Need a Manual J Load Calculation?
A 500-square-foot room does not automatically need a 12,000 BTU min...
Read More
Signs Your Mini-Split May Have a Refrigerant Leak
A mini-split does not normally “use up” refrigerant the way a car u...
Read More
Mini-Split Minimum Capacity: Why It Matters
When homeowners compare mini-splits, they normally look at the bigg...
Read More