
Mini split systems are revolutionizing home climate control—offering efficient cooling and heating without the need for ductwork.
Whether you're looking to save on labor costs or simply want to learn a new skill, this comprehensive guide will walk you through a successful DIY mini split installation from start to finish.
1. Planning Your Mini Split Installation
Assessing Your Space
- Identify the room(s) requiring heating or cooling.
- Understand your home’s electrical infrastructure.
- Check for local codes and building permits.
Electrical Considerations
- Most mini splits require 220/240V circuits and a dedicated breaker.
- Typical setups use 10-12 gauge wire and a 15-30 amp breaker depending on unit size.
- Install a weatherproof disconnect box near the outdoor unit.
Permits and Regulations
- HVAC and electrical permits may be required.
- Inspect rules regarding condensate drainage, noise levels, and installation setbacks.
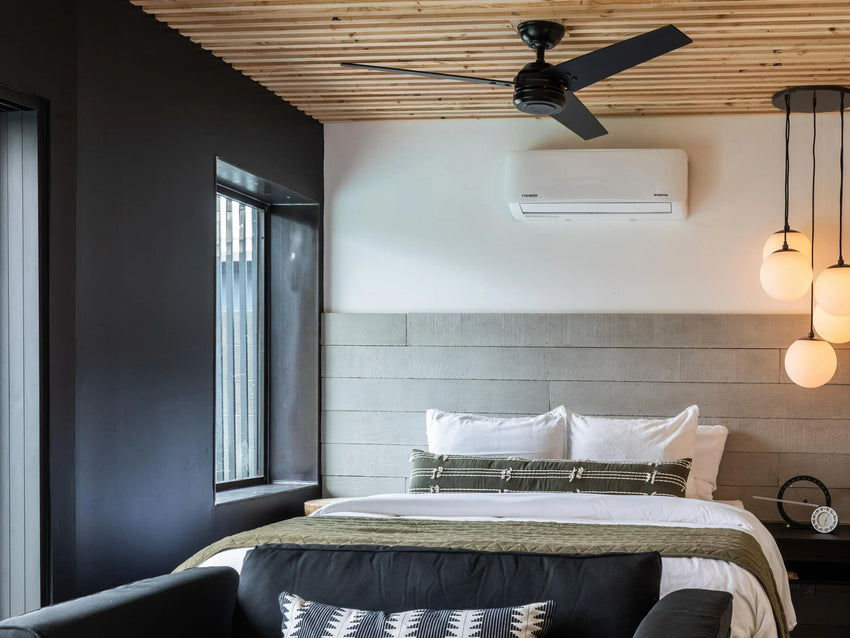
2. Choosing the Right Location
Indoor Unit: Comfort and Efficiency First
- Mount on a wall with at least 6 inches clearance from the ceiling.
- Avoid direct sunlight and heat sources like TVs or lamps.
- Position centrally for optimal air distribution, avoiding corners.
- Ensure unobstructed airflow across the room.
Outdoor Unit: Breathe Easy
- Maintain 12” clearance around the unit and 24” from nearby structures.
- Shield from strong winds and falling debris.
- Elevate if snow accumulation is a concern.
- Keep within 50–75 feet of indoor unit to maintain efficiency.
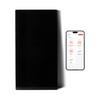
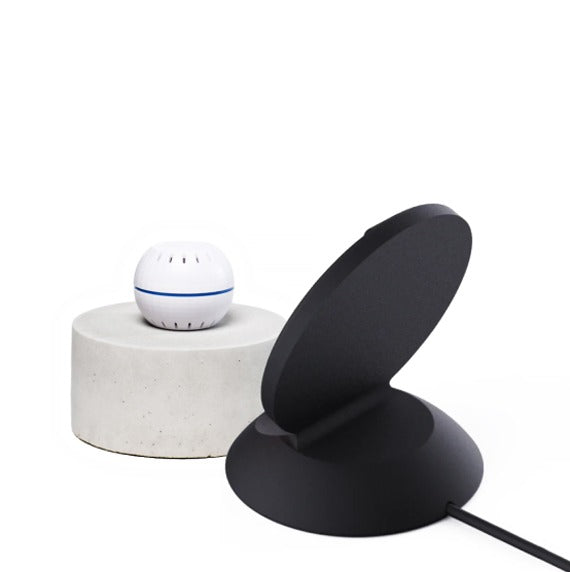
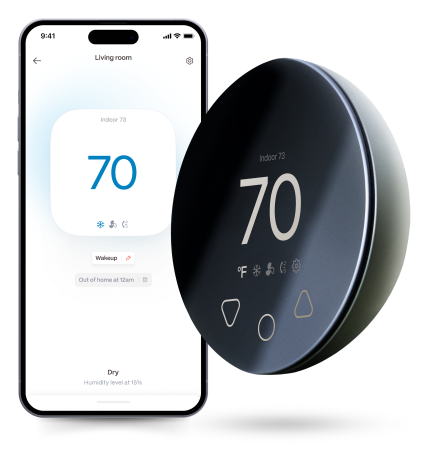
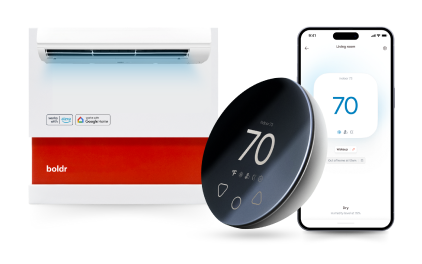
Compatible with all brands of ACs and Mini-Splits
Automate Climate Management
Control remotely
Reduce Energy Consumption
Monitor bills in realtimeKlima - Smart Home Thermostat for Mini-splits, Air Conditioners and Heatpumps
3. Tools and Equipment You'll Need
Common Tools
- Power drill with hole saws
- Tape measure, level, utility knife
- Screwdrivers, wrenches, pliers
- Wire strippers and crimpers
Specialized Tools
- Refrigerant manifold gauge set
- Vacuum pump & micron gauge
- Torque wrenches (inch-pounds & foot-pounds)
- Copper flaring tool (unless pre-flared line sets)
Installation Essentials
- Teflon tape, pipe insulation, electrical tape
- Line hide kits, mounting hardware
- PPE: gloves, safety glasses, dust mask, knee pads
4. Installing the Indoor Unit
Mounting the Air Handler
- Use the provided wall template and ensure it’s level.
- Mark and drill screw holes into wall studs (use a stud finder).
Drilling the Wall Hole
- Drill a 3" hole at a 15-degree downward angle for the conduit.
- Use a wall sleeve and seal it with caulk inside and out.
Connecting Wires and Lines
- Run communication wires, refrigerant lines, and drain tube through the conduit.
- Connect everything per manufacturer guidelines.
- Mount the air handler securely with an audible click.
5. Setting Up the Outdoor Condenser
Creating a Solid Base
- Use a concrete pad or vibration-reducing plastic feet.
- Wall brackets are great for tight spaces.
- Keep the unit perfectly level to prevent oil circulation issues.
Connecting Refrigerant Lines
- Carefully uncoil and route lines—no sharp bends!
- Apply refrigeration oil to flared fittings.
- Use a torque wrench for exact tightness—no guesswork.
Wiring the Outdoor Unit
- Match wire colors exactly per manufacturer specs.
- Use waterproof connectors and secure wires against damage.
6. Final Connections and Testing
Sealing and Insulating
- Wrap refrigerant connections in insulating tape.
- Bundle and support the line set every few feet.
- Ensure full insulation on the suction line to prevent condensation.
Drain Line Setup
- Run drain downhill and away from your home.
- Add a P-trap if required by the unit manual.
- Test drainage by pouring water into the indoor pan.
Line Set Protection
- Use UV-resistant line hide to shield exposed lines.
- In cold climates, insulate drain lines with heat tape.
7. Evacuating and Charging the System
Vacuuming the Lines
- Attach gauges and vacuum pump.
- Run pump for 30+ minutes until under 500 microns.
- Ensure pressure holds steady to confirm no leaks.
Releasing Refrigerant
- Pre-charged systems: open valves slowly to release refrigerant.
- Manual charging requires EPA certification and advanced tools.
Leak Testing
- Use a bubble solution to check connections.
- Re-torque connections slightly if bubbles appear.
8. Powering Up and First Run
Electrical Hookup
- Turn off the breaker and connect wires securely.
- Replace all covers and ensure wires are not touching any moving parts.
Startup Checklist
- Turn power on and set system to cooling mode.
- Wait 5-10 minutes to feel cool air.
- Monitor for strange noises, leaks, or drainage issues.
9. Troubleshooting Common Issues
|
Problem |
Possible Solution |
|
System won’t turn on |
Check breaker, disconnect, and remote batteries |
|
Weak airflow |
Check for obstructions or dirty filters |
|
No cooling |
Ensure flare connections are tight, valves open |
|
Unusual noise |
Tighten mounting, check for vibration against walls |
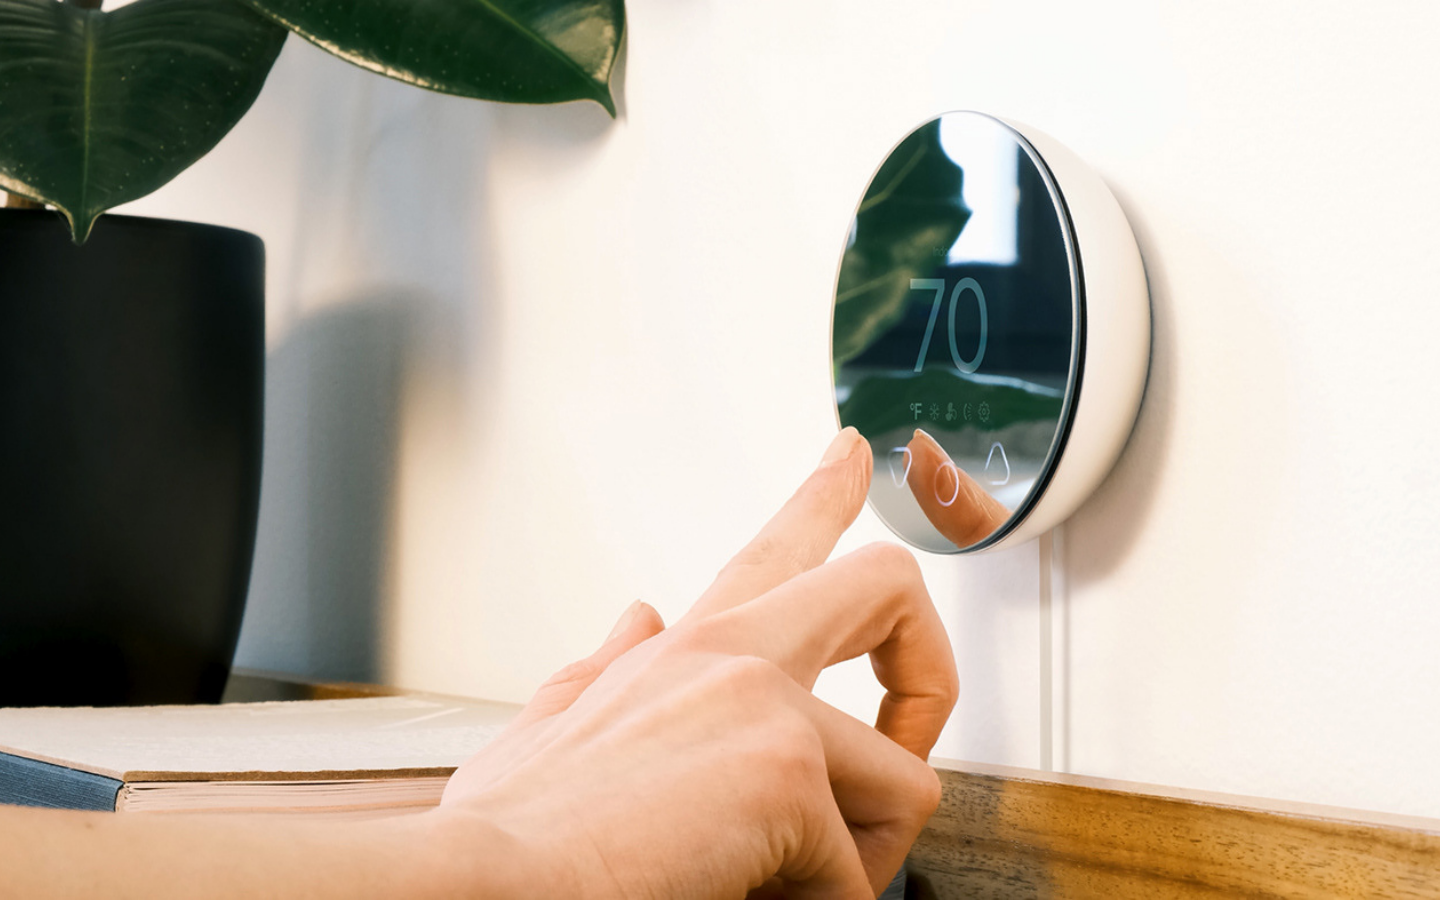
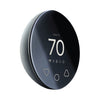
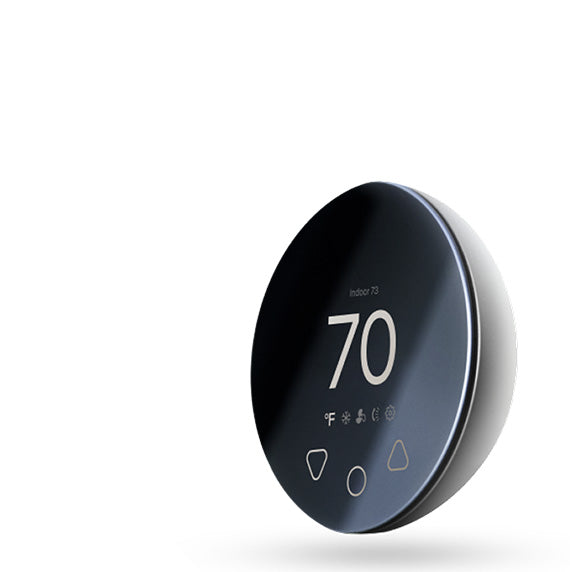
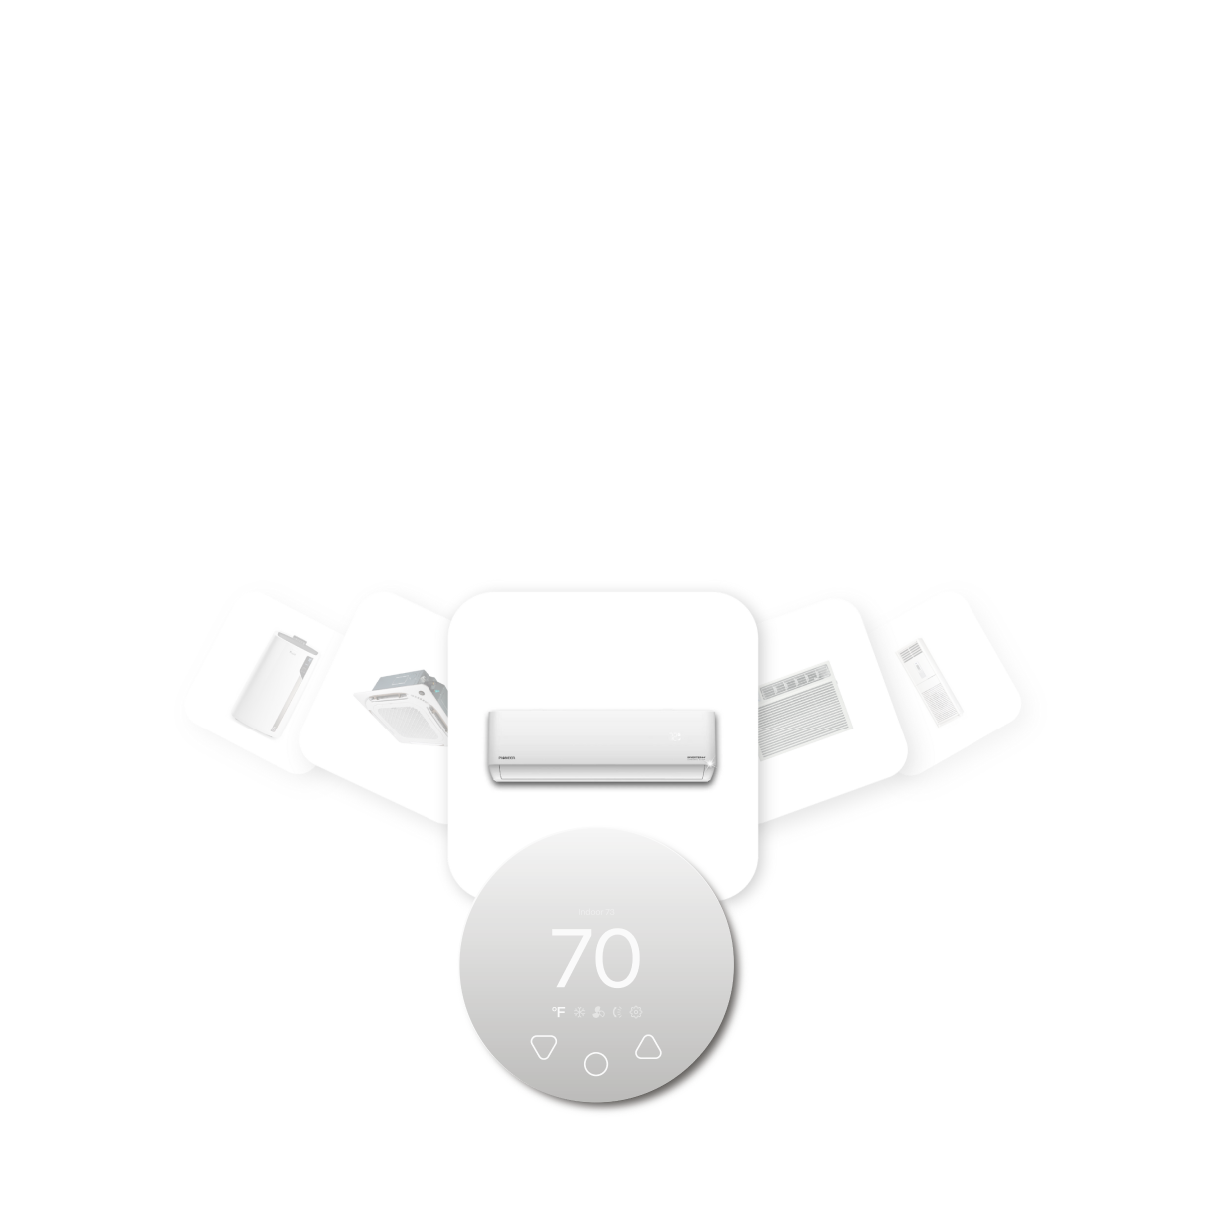
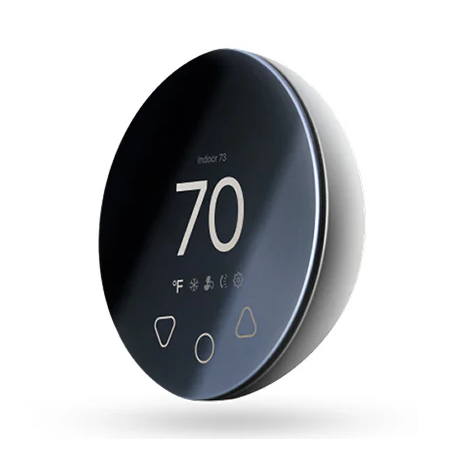
What is Klima
Klima is a smart thermostat engineered specifically for ductless mini split systems such as heat pumps and window A/Cs.
Unlike general-purpose thermostats, Klima is built for native compatibility with major brands like Mitsubishi, Daikin, Fujitsu, and Toshiba.
Its setup process is simple and user-friendly, often requiring no more than five minutes without the need for professional installation.
Klima’s Smart Features
1. Remote Access Anytime, Anywhere
Adjust your home’s temperature from your phone, using the Boldr Energy App.

2. Cost Monitoring and Energy Efficiency
Track real-time energy use, predict monthly bills, and cut costs by up to 30%.
3. Smart Scheduling
Create personalized schedules for different rooms with Klima’s smart scheduling.
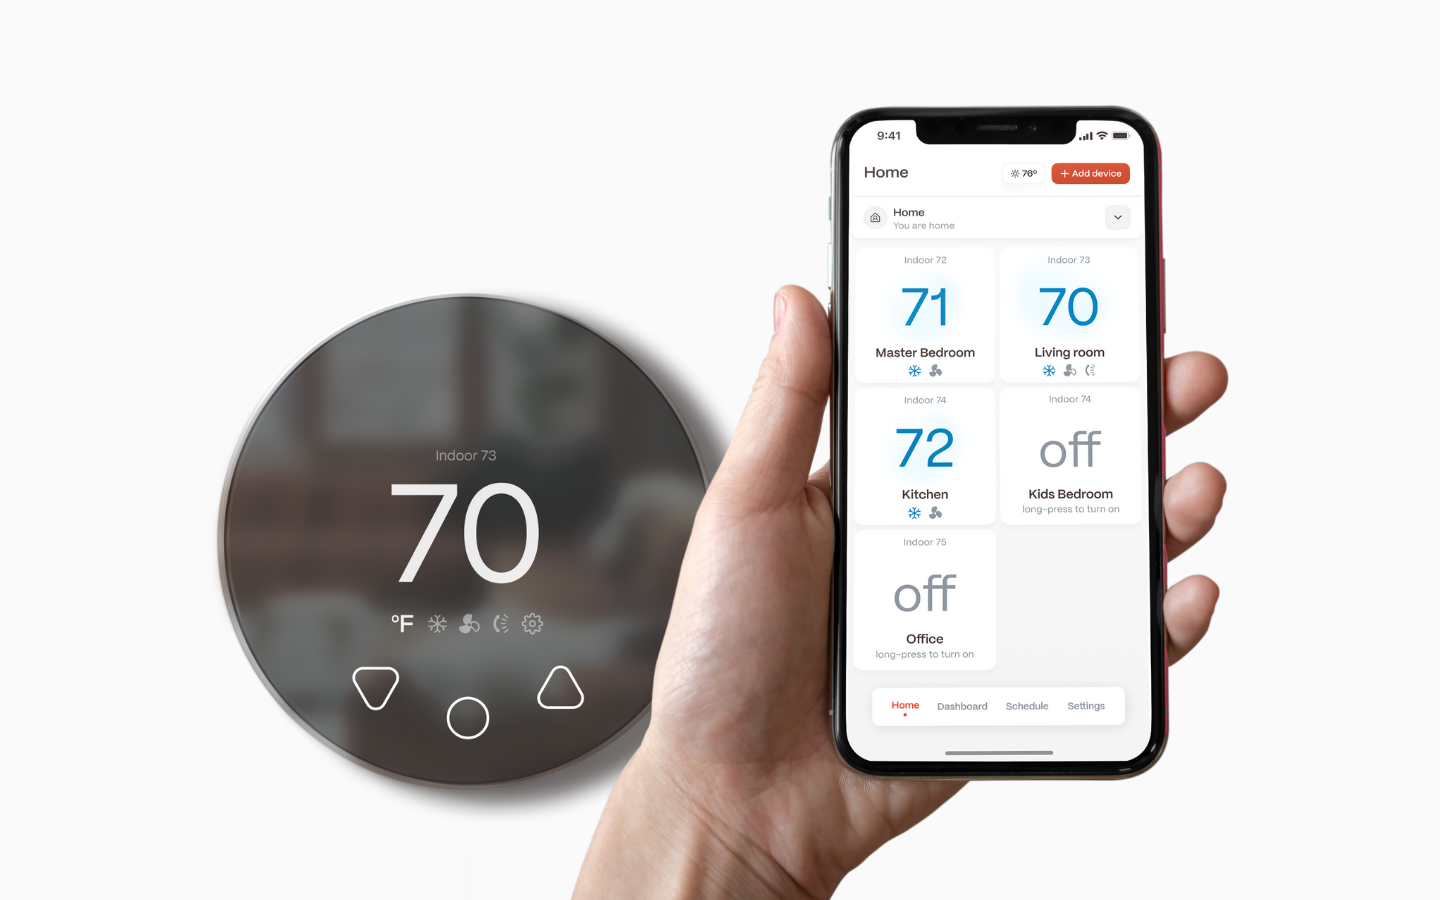
4. Smart Zoning
Tailored temperature control for each room—no more wasted energy.
5. Guest Access and Guardian Mode
Use guest access and Guardian Mode to set temperature limits and control costs.
6. Mini-Split Health Monitoring
Receive maintenance alerts via the Boldr Energy app to reduce costs and extend system life.

7. Open Window Detection
If an open window is detected, Klima shuts off your ductless HVAC system automatically.

Conclusion
Once your mini split is installed, Klima becomes the intelligent bridge between comfort, energy savings, and control.
With its robust feature set, effortless setup, and brand compatibility, Klima is the perfect upgrade for any ductless HVAC system.


Klima - Smart Home Thermostat for Mini-splits, Air Conditioners and Heatpumps
Compatible with all brands of ACs and Mini-Splits Automate Climate Management Control remotely Reduce Energy Consumption Monitor bills in realtime
Try NowRecent Articles

Why Your Fujitsu Mini-Split Halcyon is Running But Not Cooling 2025 Guide
Fujitsu mini-split air conditioners, particularly the Halcyon serie...
Read More
Infrared vs. Convection Heaters: Which is Better? 2025 Guide
When it comes to heating solutions, selecting the right heater for ...
Read More
Can You Connect Nest to a Fujitsu Halcyon Mini-Split? 2025 Guide
Smart thermostats like the Google Nest Thermostat have made it easi...
Read More
Klima vs Sensibo: Best Smart Controller for Ductless Mini-Splits and Heat Pumps (2025)
In today’s growing market of smart A/C controllers, homeowners and ...
Read More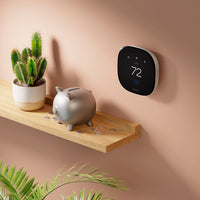
Klima vs Ecobee: The Best Smart Thermostat for Ductless Mini-Splits in 2025
As more homeowners embrace energy-efficient heating and cooling, du...
Read More