


Installing a mini-split involves four main phases: sizing and equipment selection, electrical preparation, mechanical installation, and refrigerant commissioning. Professional installation of a single-zone system typically takes 4–8 hours and costs $1,500–$3,000 in labour. DIY installation is possible with pre-charged systems like MrCool DIY but still requires a licensed electrician for the dedicated circuit. This guide walks through the complete process so you know exactly what is involved before scheduling a contractor.
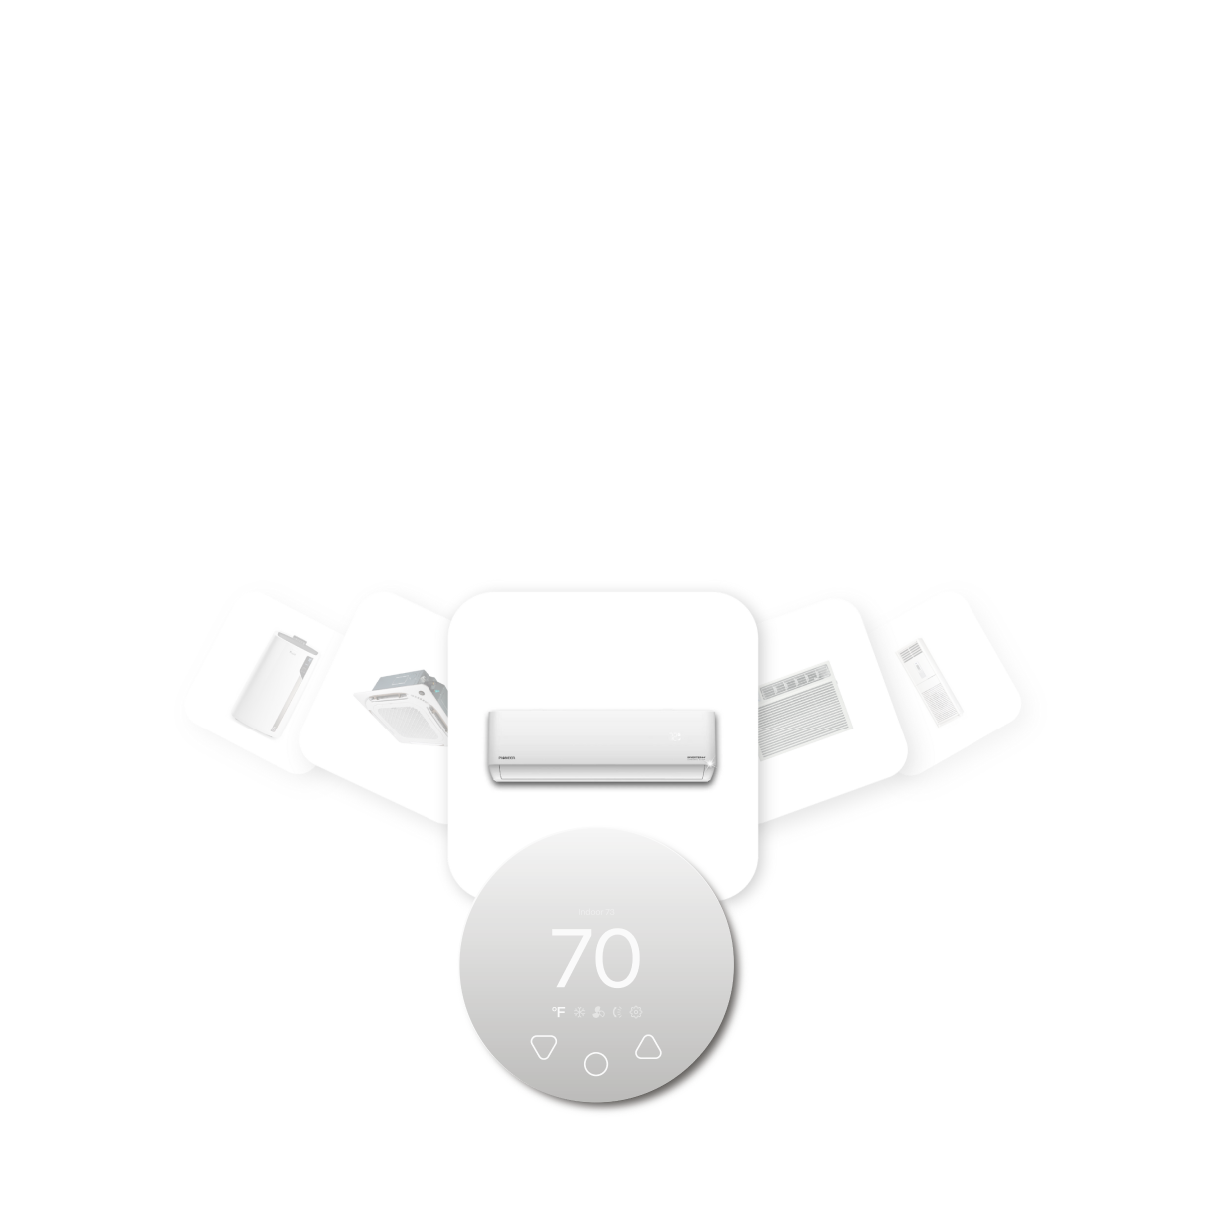
Compatible with all brands of ACs and Mini-Splits
Automate Climate Management
Control remotely
Reduce Energy Consumption
Monitor bills in realtimeKlima - Smart Home Thermostat for Mini-splits, Air Conditioners and Heatpumps
Phase 1: Sizing and Equipment Selection
The first step is determining the correct BTU capacity for your space. Use 20 BTU per square foot as a starting point, then adjust for:
- High ceilings (above 9 feet): add 10–15%
- Poor insulation or older construction: add 15–25%
- South- or west-facing rooms with heavy sun exposure: add 10–15%
- Below-grade spaces like basements: subtract 10%
- Cold climates where heating is the primary load: size to heating BTU (typically 20–40% higher than cooling)
Select a brand and model appropriate for your climate — cold-climate models (Mitsubishi H2i, Daikin Aurora, LG LGRED°, Fujitsu Halcyon) for regions that drop below 0°F; standard models for moderate climates.
Phase 2: Electrical Preparation
Every mini-split requires a dedicated 230V circuit. This work must be performed by a licensed electrician in virtually all US states and Canadian provinces and requires an electrical permit in most jurisdictions.
| BTU Capacity | Typical Breaker Size | Wire Gauge |
|---|---|---|
| 9,000–12,000 BTU | 15–20 amp | 12–14 AWG |
| 18,000–24,000 BTU | 25–30 amp | 10–12 AWG |
| 36,000 BTU+ | 35–50 amp | 8–10 AWG |
A lockable outdoor disconnect switch is required within line of sight of the outdoor unit in most jurisdictions.
Phase 3: Mechanical Installation
Indoor unit:
- Locate studs and mount the wall bracket — must be level for proper condensate drainage
- Cut a 3-inch wall penetration for the line set, slightly sloped outward for drainage
- Install wall sleeve; route line set, drain line, and communication wire through the opening
- Hang the indoor unit on the bracket; connect the refrigerant lines, drain, and communication wire
Outdoor unit:
- Install concrete pad or wall bracket — outdoor unit must be level and elevated above potential snow accumulation
- Mount the outdoor unit with vibration isolation pads
- Connect the refrigerant line set (flare connections torqued to spec)
- Connect communication wire and power wiring
- Install outdoor disconnect switch
Phase 4: Refrigerant Commissioning (Professional Only)
For traditionally installed systems (non-pre-charged):
- Pressure test the refrigerant circuit with nitrogen to check for leaks
- Evacuate the line set with a vacuum pump to remove moisture and air
- Open the service valves on the outdoor unit to release factory refrigerant charge into the system
- Add refrigerant if the line set exceeds the standard length
- Verify system pressures and temperatures are within specification
This phase requires EPA Section 608 certification and refrigerant handling equipment — it cannot legally be performed by an uncertified homeowner.
Permits and Inspections
Most jurisdictions require mechanical and electrical permits for mini-split installation. The permit process protects homeowners — it ensures the installation is inspected and code-compliant, which matters for insurance claims and home resale. Always pull permits, even if a contractor suggests skipping them.
Stay cool and save more. Use code JONES15 to get 15% off your entire order—no strings attached.
Upgrade your comfort with a Klima today.
Frequently Asked Questions
How long does mini-split installation take?
A single-zone professional installation typically takes 4–8 hours on-site. Multi-zone systems with 3–5 indoor units may take 1–2 full days. The electrical work (if a new circuit is needed) may be scheduled separately and can add half a day.
Can I install a mini-split myself?
Pre-charged DIY systems (MrCool DIY) can be installed by a capable homeowner for the mechanical portions, but the electrical work still requires a licensed electrician. Traditional systems require both an EPA-certified HVAC technician for refrigerant work and a licensed electrician for the circuit.
Related reading:
→ Mini-Split Installation Cost: What to Expect in 2026
→ DIY Mini-Split Installation: Can You Do It Yourself?
→ Mini-Split Electrical Requirements: What Breaker Size Do You Need?


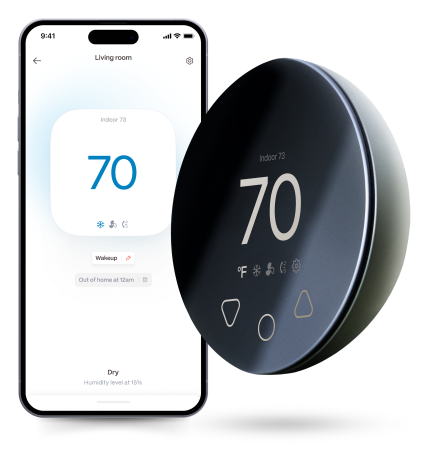
Klima - Smart Home Controller for Mini-splits, Air Conditioners and Heatpumps
Compatible with all brands of ACs and Mini-Splits Automate Climate Management Control remotely Reduce Energy Consumption Monitor bills in realtime
Try NowRecent Articles

Mini-Split vs Central Air: Which Is Better in 2026?
Mini-splits and central air can both cool a home effectively, but t...
Read More
What Does Sleep Mode Do on a Mini-Split?
Sleep mode automatically adjusts a mini-split’s operation during th...
Read More
How Often Should You Clean Mini-Split Filters?
Mini-split filters should generally be inspected every few weeks du...
Read More
How Much Electricity Does a Mini-Split Use?
The amount of electricity a mini-split uses depends on its capacity...
Read More
Should You Leave a Mini-Split On All Day?
\It can be more efficient to let a mini-split maintain a steady tem...
Read More