


Yes, you can install a mini-split yourself — if you choose the right system. DIY mini-split kits with pre-charged refrigerant lines are designed for homeowner installation and do not require an HVAC license, specialized tools, or EPA certification. This guide covers what is involved, which brands offer true DIY kits, what skills you need, and the honest trade-offs versus hiring a professional.
What Makes a "DIY" Mini-Split Different
A standard mini-split requires a technician to connect refrigerant lines with flare fittings, pull a vacuum to remove air and moisture, and charge the system. These steps need specialized tools and EPA Section 608 certification in the US. A DIY kit eliminates these steps with pre-charged line sets — refrigerant is sealed inside the copper lines at the factory and released automatically when you connect the quick-connect fittings.
DIY vs Professional Installation
| Factor | DIY | Professional |
|---|---|---|
| Total cost | $1,200–$2,500 | $2,500–$5,000 |
| Time | 6–12 hours (first time) | 3–6 hours |
| Brand options | MrCool primarily | All brands |
| Warranty | Full (MrCool) | Full (all brands) |
| Permits | You pull them | Contractor handles |
| Cold-climate options | Limited | Full range |
Step-by-Step Overview
Step 1: Choose the location — high on an interior wall, 6–12 inches below the ceiling. Mark mounting plate and hole location.
Step 2: Mount the mounting plate to wall studs with lag bolts.
Step 3: Drill a 3-inch hole through the exterior wall, angled slightly downward toward the outside.
Step 4: Place the outdoor unit on a pad or bracket, 12+ inches of clearance on all sides.
Step 5: Route the pre-charged line set through the wall hole. Connect indoor end first, then outdoor end.
Step 6: Connect the communication wire between units per the wiring diagram.
Step 7: Seal the wall penetration with putty or caulk.
Step 8: Have an electrician install a dedicated 240-volt circuit ($200–$400).
Step 9: Power on and test in both cooling and heating modes.
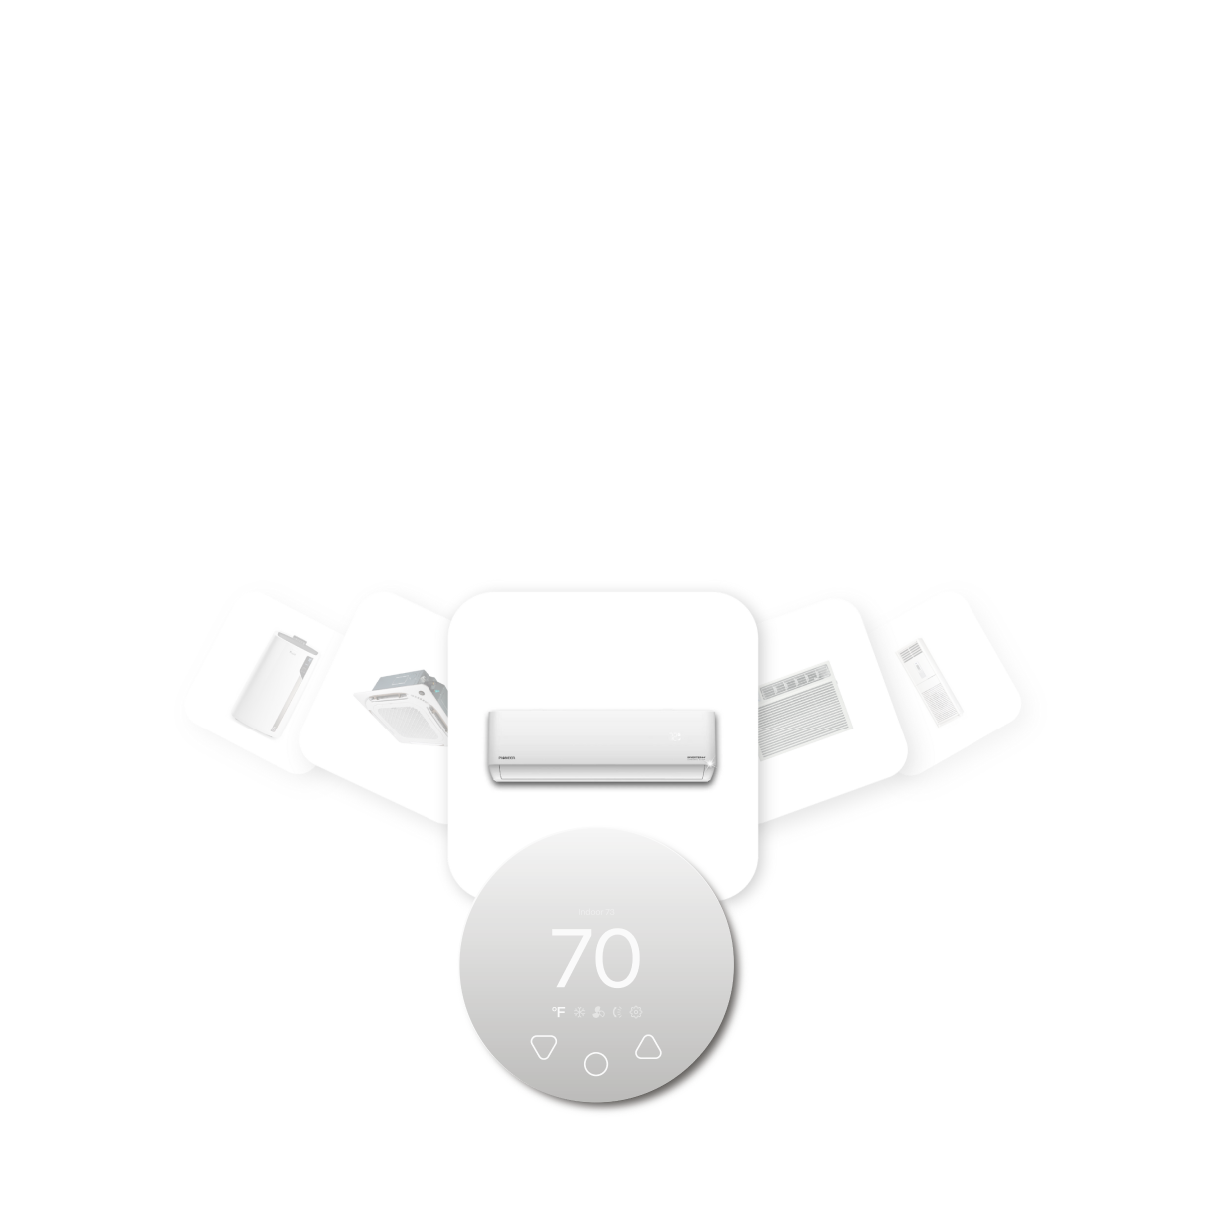
Compatible with all brands of ACs and Mini-Splits
Automate Climate Management
Control remotely
Reduce Energy Consumption
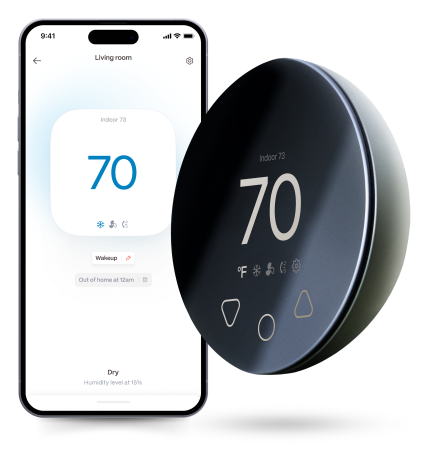
Monitor bills in realtimeKlima - Smart Home Thermostat for Mini-splits, Air Conditioners and Heatpumps
Common DIY Mistakes to Avoid
- Wrong wall hole angle: The hole must angle slightly downward toward the outside. A level or upward hole causes condensate to drain back into the wall.
- Not torquing fittings properly: Under-tightened fittings leak refrigerant. Over-tightened fittings crack the flare. Use a torque wrench to the manufacturer's specification.
- Outdoor unit too close to a wall: Needs airflow on all sides. Tight corners reduce efficiency and cause overheating.
- Skipping the electrical permit: A dedicated circuit requires a permit in most jurisdictions. Skipping can cause issues at home sale.
Frequently Asked Questions
Is a DIY mini-split as good as a professionally installed one?
When installed correctly, a DIY mini-split performs identically to a professionally installed unit of the same specifications. The quality of the installation matters more than who does it.
Can I install a Mitsubishi or Daikin myself?
Not recommended. These brands require vacuum pumping, refrigerant handling, and flare connections — tasks that need specialized tools and EPA certification. Most manufacturers also require professional installation for warranty coverage.
How much money do I save with DIY?
Typically $1,000–$2,500 in labour costs for a single-zone system. Savings are largest in high-cost-of-labour markets.


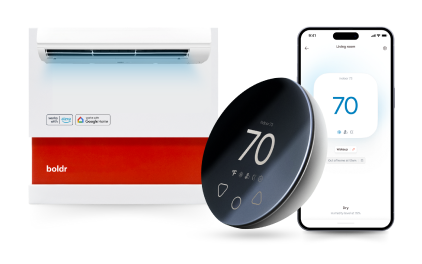
Klima - Smart Home Controller for Mini-splits, Air Conditioners and Heatpumps
Compatible with all brands of ACs and Mini-Splits Automate Climate Management Control remotely Reduce Energy Consumption Monitor bills in realtime
Try NowRecent Articles

Mini-Split vs Central Air: Which Is Better in 2026?
Mini-splits and central air can both cool a home effectively, but t...
Read More
What Does Sleep Mode Do on a Mini-Split?
Sleep mode automatically adjusts a mini-split’s operation during th...
Read More
How Often Should You Clean Mini-Split Filters?
Mini-split filters should generally be inspected every few weeks du...
Read More
How Much Electricity Does a Mini-Split Use?
The amount of electricity a mini-split uses depends on its capacity...
Read More
Should You Leave a Mini-Split On All Day?
\It can be more efficient to let a mini-split maintain a steady tem...
Read More