


The outdoor unit's location directly affects system efficiency, noise, maintenance access, and longevity. Placing the outdoor unit too close to obstructions causes E1 high-pressure faults and reduced performance. Placing it in the wrong orientation adds unnecessary line set length or exposes it to damage. This guide covers all the rules and recommendations for outdoor unit placement.
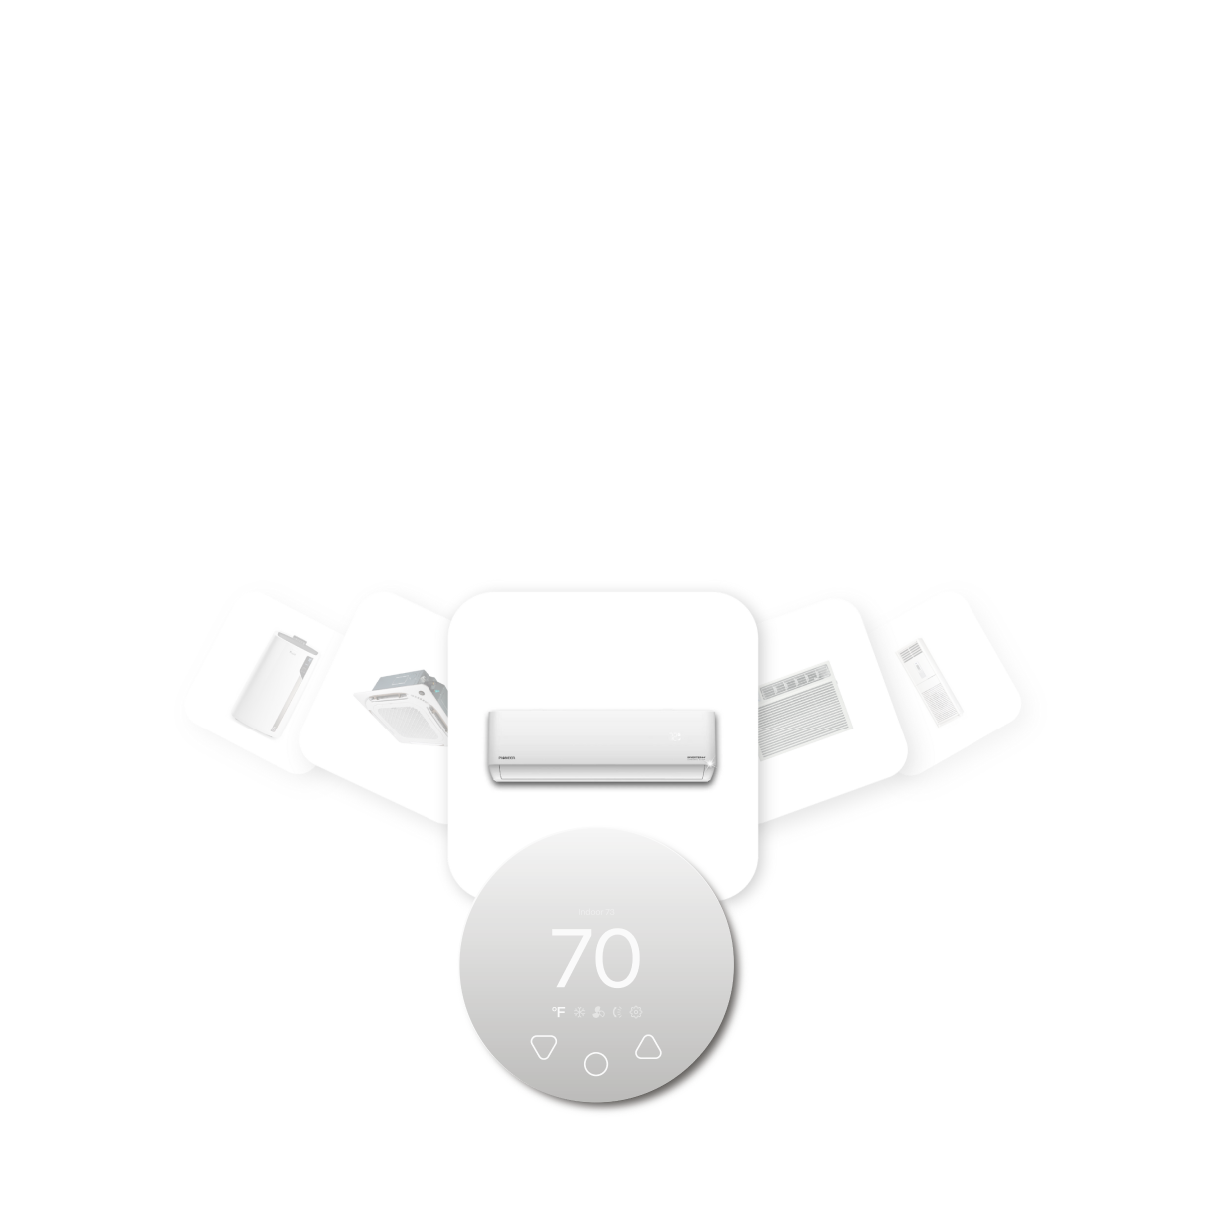
Compatible with all brands of ACs and Mini-Splits
Automate Climate Management
Control remotely
Reduce Energy Consumption
Monitor bills in realtimeKlima - Smart Home Thermostat for Mini-splits, Air Conditioners and Heatpumps

Clearance Requirements
| Side | Minimum Clearance | Why |
|---|---|---|
| Front (fan discharge) | 24–36 inches | Discharge air must project freely without obstruction |
| Sides | 6–12 inches | Inlet airflow — must not be blocked |
| Rear | 6–12 inches | Inlet airflow on rear-intake models |
| Above | 18–24 inches minimum | Allows warm discharge air to rise freely; prevents recirculation |
| Below (ground clearance) | 4–6 inches minimum; 12 inches in snow climates | Prevents snow and ice from blocking the base; allows condensate to drain |
Best Placement Locations
- North or east-facing wall — avoids afternoon sun heating the outdoor coil, which reduces cooling efficiency in summer.
- Shaded area — a location with partial shade improves summer cooling efficiency without blocking airflow.
- Close to the indoor unit — minimises line set length and reduces installation cost and pressure drop losses.
- Accessible for maintenance — the outdoor coil needs annual cleaning. Ensure the unit is reachable without moving furniture or disassembling anything.
- Away from bedroom windows — the outdoor unit compressor produces 50–65 dB of sound. A location 10+ feet from bedroom windows significantly reduces nighttime noise impact.
Locations to Avoid
- Enclosed spaces — garages, equipment rooms, or anywhere the discharge air recirculates back to the intake. The outdoor unit must be in open air.
- Direct south or west sun exposure — afternoon sun on the outdoor coil can raise condensing temperature by 5–10°F, increasing E1 high-pressure events in peak summer.
- Near dryer vents or exhaust fans — lint, moisture, and heat from exhaust sources clog and corrode the outdoor coil.
- Under roof overhangs with ice damming potential — falling ice from roof edges can damage the outdoor unit.
- Directly at grade in heavy snow climates — elevate on a stand or wall bracket to keep the unit above expected snow accumulation.
Wall Mount vs Ground Mount
The outdoor unit can be mounted at ground level on a concrete pad or elevated on a wall bracket. Wall mounting keeps the unit above snow, improves drainage, and can reduce noise transmission through the ground. Ground mounting is simpler and slightly less expensive. In climates with more than 12 inches of average snow accumulation, wall mounting or an elevated stand is strongly recommended.
Frequently Asked Questions
Can I put my mini-split outdoor unit in a fence enclosure?
Only if the enclosure provides adequate clearances on all sides and especially the front (discharge). Most decorative fence enclosures restrict airflow significantly. A unit with restricted discharge airflow will produce E1 high-pressure faults and operate at reduced efficiency. If an enclosure is desired for aesthetics, work with the manufacturer's minimum clearance specs and test the unit in cooling mode on a warm day after installation.
Does the outdoor unit orientation matter?
Yes. The discharge fan faces in a fixed direction. The unit must be installed so the discharge faces away from walls, fences, or structures — not toward them. Most units discharge from the front panel; some models discharge upward. Check your model's specifications before finalising the mounting location.
Related reading:
→ Mini-Split Indoor Unit Placement: Where for Best Airflow
→ Mini-Split Installation Guide: The Complete Process
→ Mini-Split E1 Error Code: Causes and Fixes for Every Brand


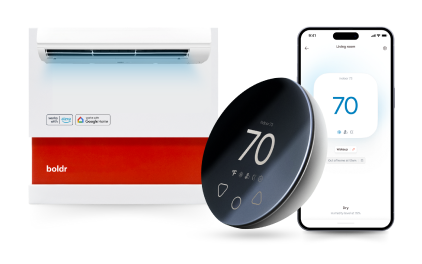
Klima - Smart Home Controller for Mini-splits, Air Conditioners and Heatpumps
Compatible with all brands of ACs and Mini-Splits Automate Climate Management Control remotely Reduce Energy Consumption Monitor bills in realtime
Try NowRecent Articles

Mini-Split Financing Options 2026: US and Canada Guide
The upfront cost of a mini-split — typically USD $2,500–$8,000 inst...
Read More
Mini-Split Inverter vs Non-Inverter: What's the Difference?
Every modern residential mini-split sold in North America in 2026 u...
Read More
Canada Greener Homes Grant for Mini-Splits: 2026 Complete Guide
The Canada Greener Homes Grant is the federal government's primary ...
Read More
Mini-Split Indoor Unit Mounting Height: The Complete Guide
The height at which you mount the mini-split indoor unit significan...
Read More
Do You Need a Permit to Install a Mini-Split?
Yes — permits are required for mini-split installations in virtuall...
Read More