


Where you mount the indoor unit determines how effectively your mini-split heats and cools the room. Poor placement leads to hot and cold spots, short cycling, poor dehumidification, and uncomfortable drafts. Good placement ensures even temperature distribution, quiet operation, and maximum efficiency. This guide covers the rules for indoor unit placement and the most common mistakes to avoid.
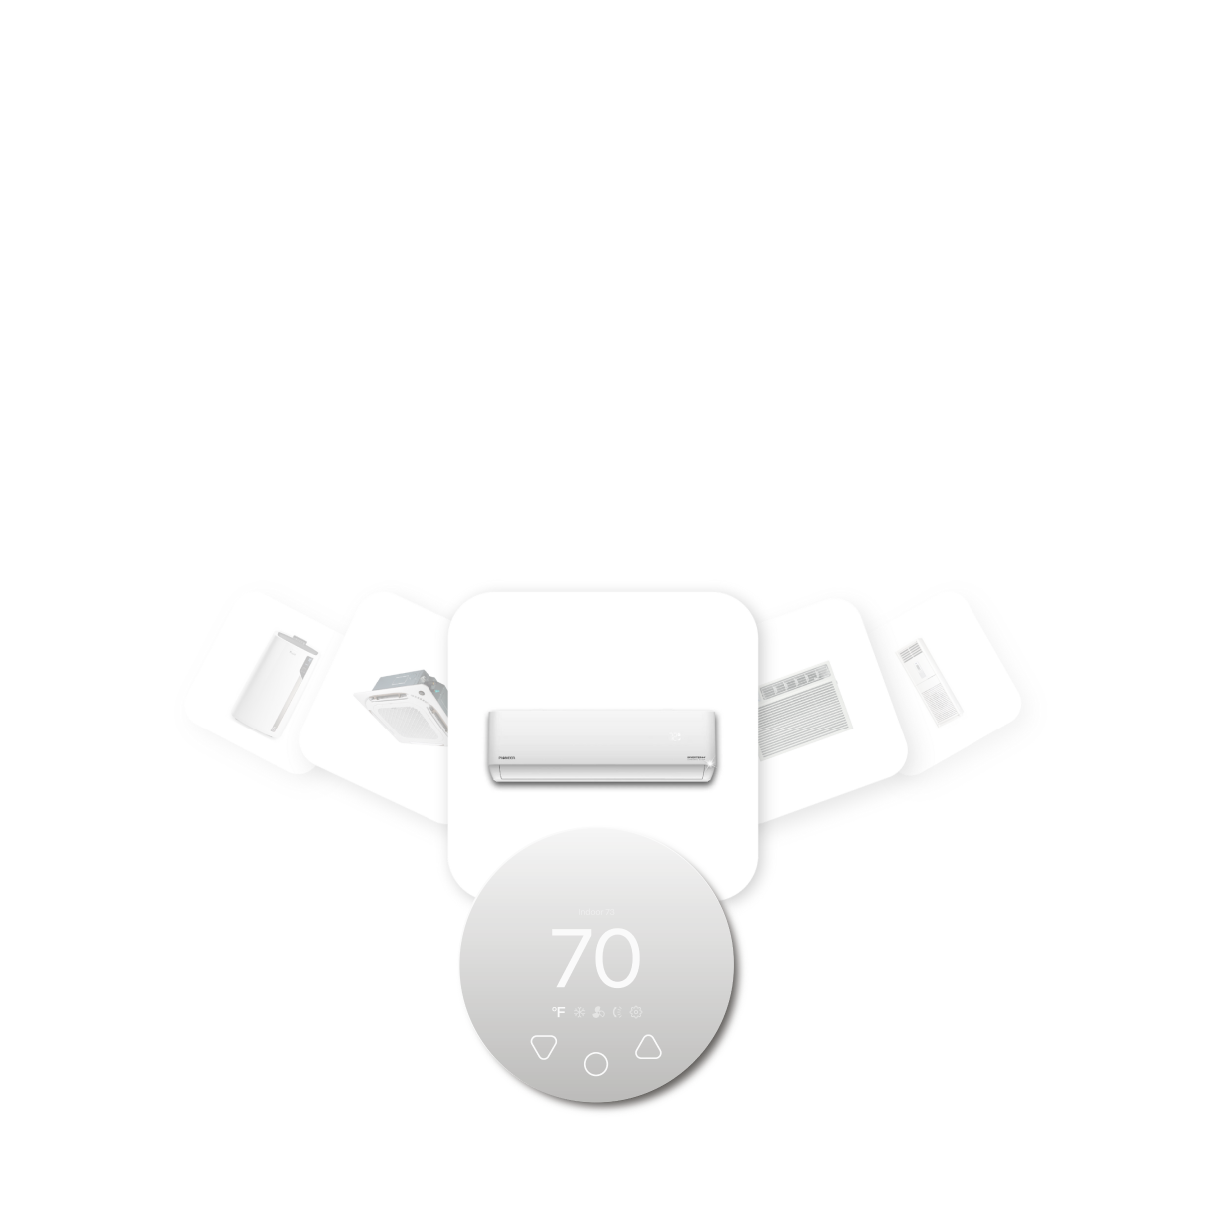
Compatible with all brands of ACs and Mini-Splits
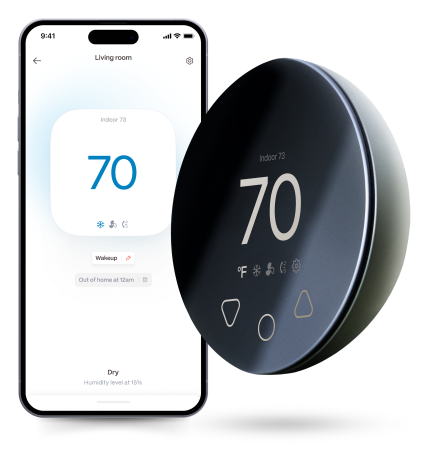
Automate Climate Management
Control remotely
Reduce Energy Consumption
Monitor bills in realtimeKlima - Smart Home Thermostat for Mini-splits, Air Conditioners and Heatpumps
Key Placement Rules
| Rule | Requirement | Why |
|---|---|---|
| Height from ceiling | 6–12 inches from ceiling | Maximises cold air throw in cooling; warm air buoyancy helps in heating |
| Clearance above unit | Minimum 6 inches above unit | Intake airflow — obstruction reduces efficiency and causes overheating |
| Side clearance | Minimum 6 inches each side | Prevents recirculation of discharged air back into intake |
| Distance from obstructions in front | Minimum 3 feet of clear space | Airflow must project unobstructed into the room |
| Level | Perfectly horizontal | Condensate drains correctly — any tilt causes indoor water leaks |
Ideal Placement Locations
- On an exterior wall — the shortest path for the line set to reach the outdoor unit, minimising line set cost and pressure drop.
- Centred on the room's longest wall — maximises airflow reach across the entire space.
- Away from heat sources — keep the indoor unit away from direct sunlight, ovens, stoves, or other heat-generating appliances that can confuse the room temperature sensor and cause the unit to overcool.
- Above the primary occupancy area — mount above the sofa, desk, or bed so conditioned air reaches occupants without blowing directly on them.
Placement Locations to Avoid
- Above doorways — conditioned air escapes through the door every time it opens.
- In corners — reduces effective throw and causes recirculation.
- Directly above a bed or desk — the discharge air blows directly on occupants, which is uncomfortable especially in cooling mode.
- In areas with poor air circulation — alcoves, closets, or recessed areas where air cannot circulate back to the intake.
- Where the sensor reads incorrectly — next to a fireplace, sunny window, or exterior door where the temperature at the unit does not reflect the overall room temperature.
Multi-Room Considerations
A single indoor unit generally conditions one room effectively. In open-plan spaces, a unit positioned to throw air across the longest dimension of the space works best. For homes with an open kitchen-living-dining layout, a single 18,000–24,000 BTU unit positioned centrally on an exterior wall can handle the entire open zone. Bedrooms behind closed doors always need their own unit.
Frequently Asked Questions
Can I mount a mini-split on an interior wall?
Yes. Interior wall mounting is possible but requires a longer line set run to reach the outdoor unit. The line set will need to travel through the ceiling, attic, or along exterior walls to reach the outdoor unit — adding cost and complexity. Exterior wall mounting is preferred when practical.
How high should a mini-split be from the floor?
Most manufacturers recommend 6–12 inches from the ceiling, which places the unit 7–8 feet from the floor on standard 8-foot ceilings. The exact placement is measured from the ceiling, not the floor — always work from the ceiling measurement in the installation manual.
Related reading:
→ Mini-Split Installation Guide: The Complete Process
→ Mini-Split Outdoor Unit Placement: Rules and Best Locations
→ Mini-Split for a Bedroom: What Size Do You Need?


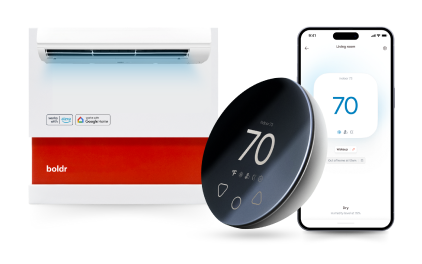
Klima - Smart Home Controller for Mini-splits, Air Conditioners and Heatpumps
Compatible with all brands of ACs and Mini-Splits Automate Climate Management Control remotely Reduce Energy Consumption Monitor bills in realtime
Try NowRecent Articles

Why Is My Mini-Split Leaking Water Indoors?
A mini-split should remove condensation through its drain system du...
Read More
Can You Run a Mini-Split With Solar Panels?
Solar panels can help power a mini-split, but most homes do not con...
Read More
Can a Mini-Split Run on a Generator During a Power Outage?
A mini-split can potentially run from a properly selected generator...
Read More
Mini-Split Defrost Mode Explained: Why Your Heat Stops in Winter
Your mini-split is heating normally when the indoor fan suddenly sl...
Read More
Does a Mini-Split Bring Fresh Air Into the House?
Most conventional wall-mounted mini-splits do not bring fresh outdo...
Read More