


Cleaning a Mitsubishi mini-split filter takes less than 5 minutes and is the single most important maintenance task you can perform. Mitsubishi recommends cleaning the filter every 2 weeks during heavy-use periods and monthly during lighter use. A clean filter maintains airflow, prevents coil freezing, and keeps the system running efficiently.
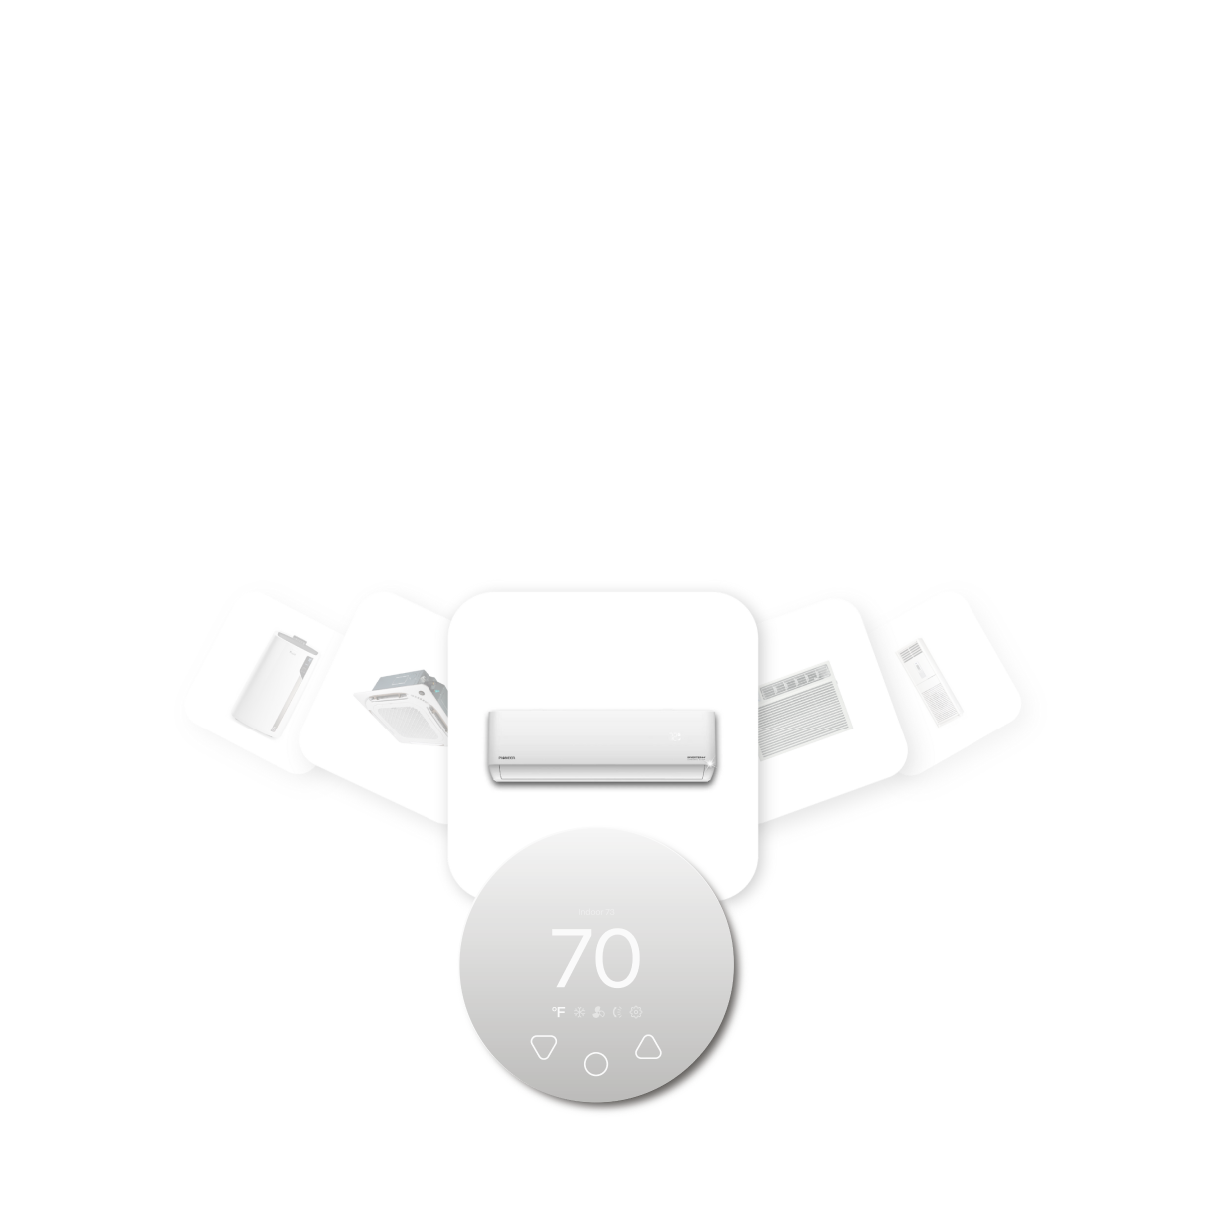
Compatible with all brands of ACs and Mini-Splits
Automate Climate Management
Control remotely
Reduce Energy Consumption
Monitor bills in realtimeKlima - Smart Home Thermostat for Mini-splits, Air Conditioners and Heatpumps
What You Need
- A soft brush or vacuum with brush attachment
- Warm running water
- A clean dry cloth or towel
- 15–20 minutes (including drying time)
Step-by-Step: How to Clean a Mitsubishi Mini-Split Filter
Step 1 — Turn off the unit. Use the remote to switch off the mini-split. You do not need to turn off the breaker for filter cleaning.
Step 2 — Open the front panel. Grasp the bottom of the front panel and lift upward. Most Mitsubishi models use a hinged panel that swings up and locks open. Some models have tabs on the sides — press them in while lifting.
Step 3 — Remove the filters. The filters are thin mesh panels that slide out from grooves inside the front panel. Mitsubishi units typically have two filter panels (left and right). Slide them out gently — they have no fasteners.
Step 4 — Remove loose dust. Tap the filter gently over a bin to dislodge loose dust. Use a soft brush or vacuum brush to remove surface debris from the mesh.
Step 5 — Rinse under warm water. Hold the filter under warm running water, rinsing from the clean side (back) through to the dirty side (front). This pushes dirt out rather than deeper into the mesh. Do not use hot water or soap — warm water is sufficient.
Step 6 — Inspect the filter. Hold the clean filter up to a light source. You should be able to see through the mesh. If any sections remain blocked after rinsing, gently press with your fingers under running water.
Step 7 — Dry completely. Lay the filter flat or hang it in a dry location for at least 15–20 minutes. Never reinstall a wet filter — moisture on the filter can cause mold growth inside the unit.
Step 8 — Reinstall and reset the filter indicator. Slide both filters back into their grooves until they click into place. Close the front panel. To reset the filter light: press and hold the filter reset button on the indoor unit (behind the front panel, near the LED lights) for 3 seconds.
Mitsubishi-Specific Filter Notes
- Some Mitsubishi models include an additional anti-allergen or deodorizing filter behind the main mesh filter. This is a thicker, replaceable filter — check your manual for replacement frequency (typically once per season).
- The Plasma Quad filter (on select models) should be cleaned with a damp cloth only — do not rinse under running water.
- If the filter has visible damage (tears, holes), replace it rather than cleaning. Contact a Mitsubishi dealer for the correct replacement part number.
Frequently Asked Questions
How often should I clean my Mitsubishi mini-split filter?
Mitsubishi's general guideline is every 2 weeks during heavy use (summer cooling, winter heating) and monthly during light use. In dusty environments or homes with pets, clean every 2 weeks year-round.
Will a dirty filter cause my Mitsubishi to stop working?
A severely dirty filter restricts airflow across the evaporator coil. This causes the coil to freeze, which triggers a fault condition (often error code P6 or E4) and shuts the system down. Regular filter cleaning prevents this entirely.
Related reading:
→ How to Clean a Mini-Split Filter (Takes 5 Minutes)
→ Mitsubishi Mini-Split Maintenance Tips
→ Mini-Split Maintenance Guide: What to Do Every Season


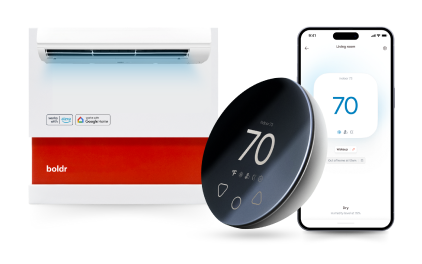
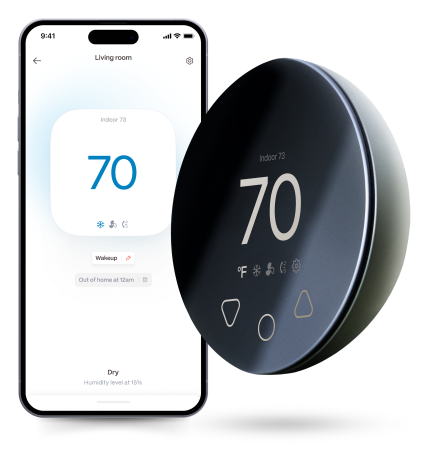
Klima - Smart Home Controller for Mini-splits, Air Conditioners and Heatpumps
Compatible with all brands of ACs and Mini-Splits Automate Climate Management Control remotely Reduce Energy Consumption Monitor bills in realtime
Try NowRecent Articles

Why Is My Mini-Split Leaking Water Indoors?
A mini-split should remove condensation through its drain system du...
Read More
Can You Run a Mini-Split With Solar Panels?
Solar panels can help power a mini-split, but most homes do not con...
Read More
Can a Mini-Split Run on a Generator During a Power Outage?
A mini-split can potentially run from a properly selected generator...
Read More
Mini-Split Defrost Mode Explained: Why Your Heat Stops in Winter
Your mini-split is heating normally when the indoor fan suddenly sl...
Read More
Does a Mini-Split Bring Fresh Air Into the House?
Most conventional wall-mounted mini-splits do not bring fresh outdo...
Read More