


A proper window A/C installation doesn’t just keep you cool; it saves energy, reduces your bills, and ensures your ductless window A/C works safely and effectively for years.
This is a guide to walk you through the main points you need to know about installing a window A/C unit.
Before You Begin
1. Measure the Window Opening
Before buying your window A/C unit, grab a tape measure and check the width and height of the window where you plan to install the ductless A/C unit.
Compare your measurements with the window A/C’s size specs, and leave extra space for insulation and ventilation. A properly sized unit ensures optimal performance and easier installation.
2. Choose the Right Location
Not all windows are created equal. For best results:
1. Choose a window that receives direct sunlight during the hottest part of the day to maximize efficiency.
2. Avoid windows near high-traffic areas or noisy spots, which can impact comfort and performance of your window A/C.
3. Pick a location with easy access so you can clean and maintain the window A/C unit regularly.
3. Gather Your Tools
Having the right tools handy will save time and effort. You’ll typically need:
- Screwdriver
- Level
- Screws or bolts (usually provided with the unit)
- Caulk or weatherstripping
- Rags or towels for cleanup

Step-by-Step: Installing the Window A/C Unit
1. Install the Mounting Bracket
Most window A/C units come with a mounting bracket. Follow your window A/C’s manufacturer instructions closely.
Use a level to ensure the window A/C placement is even—an unlevel bracket can affect drainage and cause performance issues.
For larger or heavier window A/C units, consider additional support like L-brackets.
2. Lift the Unit into the Window
Carefully lift the window A/C unit into place and rest it on the bracket. This step may require an extra set of hands—window A/C units can be heavy.
Ensure the ductless A/C unit is slightly tilted outward to help with proper water drainage.
3. Secure the Unit
Once the window A/C is positioned correctly, fasten the ductless A/C unit to the mounting bracket using the screws or bolts provided.
Follow the instructions to secure the accordion side panels tightly to the window frame.
4. Insulate Around the Unit
Seal any gaps your window A/C install may have with caulk or weatherstripping to prevent warm air, noise, and dust from creeping in.
Proper insulation improves energy efficiency of your window A/C and reduces strain on the unit.
5. Test the A/C Unit
Before celebrating your installation success of your window A/C, turn on the unit and test all its functions.
Make sure your window A/C is blowing cold air, the fan operates smoothly, and there's no rattling or vibration. If something’s off, turn it off and troubleshoot before further use.

Make Your Window A/C Smart with Klima
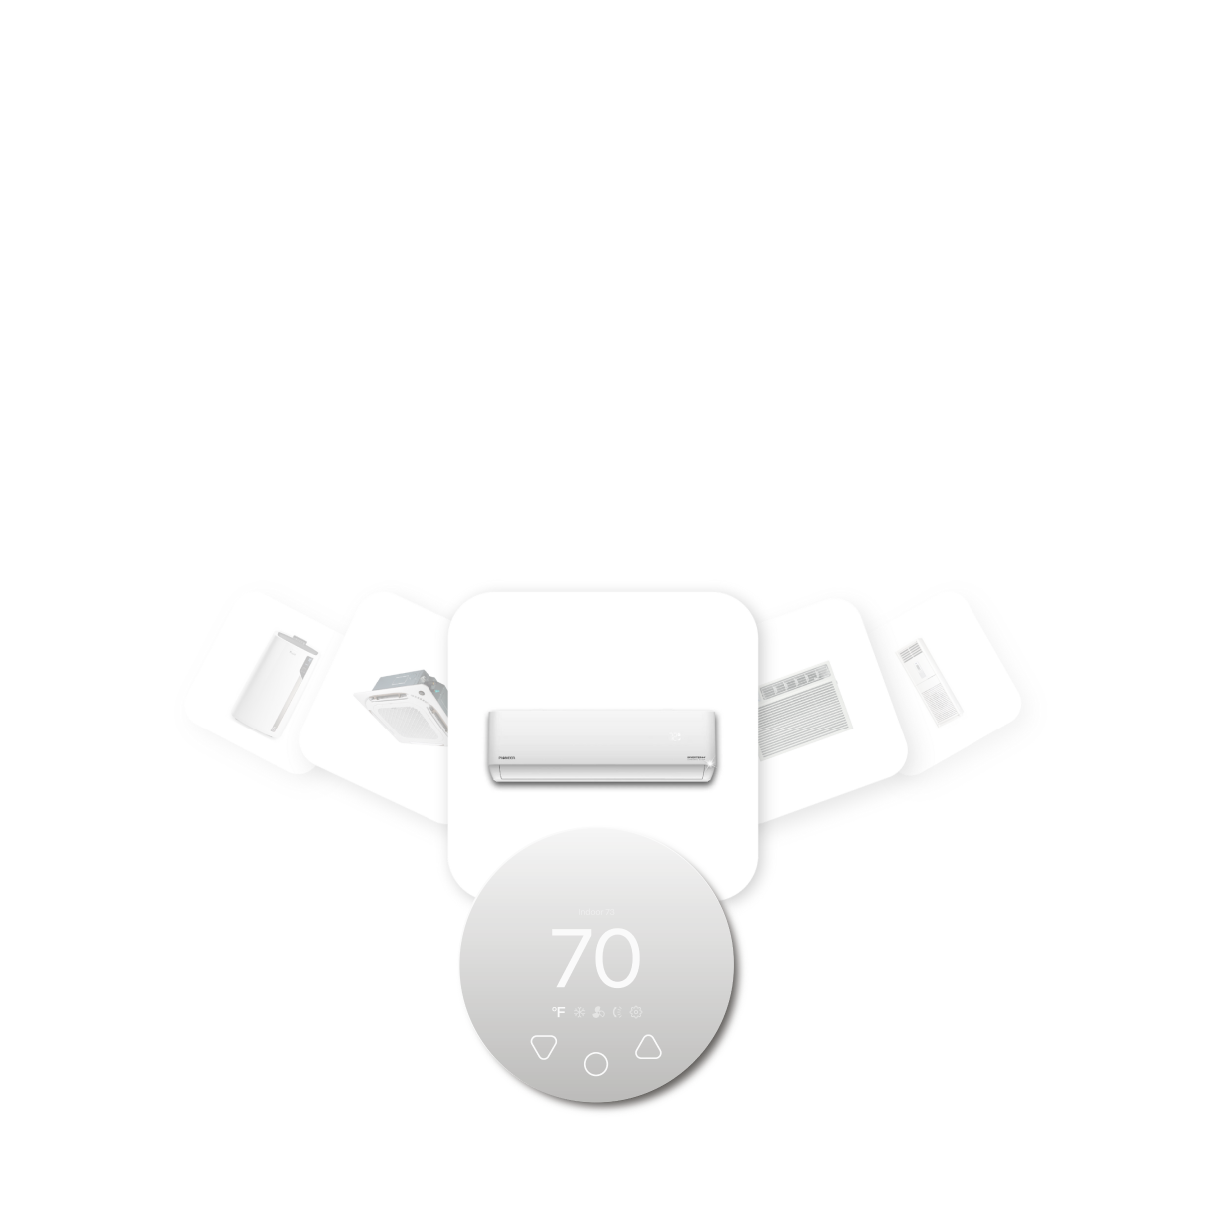
Klima transforms any window A/C into a smart home appliance you can control from your phone—making it modern, energy-efficient, and a convenient part of your smart home ecosystem.
Smart thermostats like Klima help window A/C units reach their full potential.
By automatically adjusting usage patterns and preventing wasteful operation, Klima can reduce energy consumption without sacrificing comfort—helping you save up to 30% on your cooling bills.
Klima - Smart Home Thermostat for Mini-splits, Air Conditioners and Heatpumps
Compatible with all brands of ACs and Mini-Splits Automate Climate Management Control remotely Reduce Energy Consumption Monitor bills in realtime
Try Now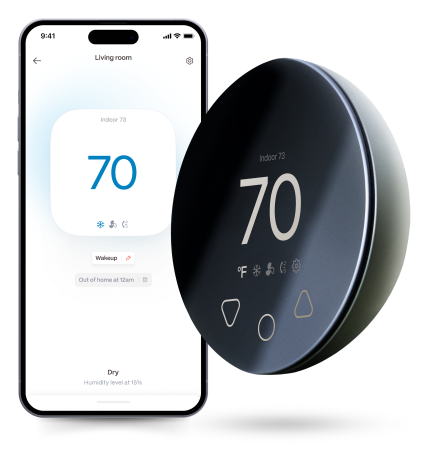
Klima’s Key Benefits
Installing your window A/C unit correctly is the first step. But upgrading it with smart climate control takes comfort and efficiency to a whole new level.
Here's how Klima transforms your window A/C experience:
1. Boost Convenience
Klima puts your air conditioner in your pocket—literally. With mobile control, you can adjust your mini-split or window A/C settings from anywhere in the world, through the Boldr Energy app.
2. Automate Climate Management
No more manual tweaks. Klima learns your habits and automates your window A/C’s temperature adjustments throughout the day.
It tailors your indoor climate to match your window A/C schedule, whether you're waking up, working, or heading to bed—keeping you comfortable without lifting a finger.
3. Reduce Energy Consumption
Klima’s advanced features, like geofencing, scheduling, and open-window detection, help reduce unnecessary energy use of your window A/C.
Over time, this adds up to major savings of up to 30% on your cooling bills.

Klima’s Key Features
1. Remote Access
Turn your window A/C on/off from anywhere, using Klima’s Remote Access feature.
2. Smart Scheduling
Using Klima’s Smart Scheduling feature, you can program your window A/C to cool different rooms at different times based on your routine.

3. Cost Monitoring
Track your real-time energy use of your window A/C and optimize performance to save up to 30% on your electricity bills.
4. Open Window Detection
If someone forgets to close a window, Klima automatically shuts off your window A/C unit to prevent waste.

5. Smart Zoning
Customize temperatures for specific rooms where a window A/C and Klima is located, to avoid overcooling unused areas.
6. Health Monitoring
Get alerts if something is off with your window A/C, through the Boldr Energy app, preventing costly breakdowns.
7. Location Sensing
Klima knows when you leave or return home, adjusting your window A/C’s temperature automatically through the use of geofencing technology.

Conclusion
Installing a window A/C unit properly is one of the easiest ways to improve your home’s comfort while also saving on energy costs.
With the right tools, a bit of prep work, and the steps above, you’ll be enjoying cool, efficient air in no time.
And with smart upgrades like Klima, you’ll take your smart home climate control to the next level—combining convenience, intelligence, and savings of up to 30%.


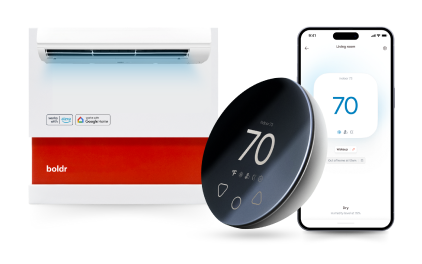
Klima - Smart Home Thermostat for Mini-splits, Air Conditioners and Heatpumps
Compatible with all brands of ACs and Mini-Splits Automate Climate Management Control remotely Reduce Energy Consumption Monitor bills in realtime
Try NowRecent Articles

Best Mini-Split for Cold Climate 2026 (Works Below -20°F / -)
In cold climates — Canada, the northern US Midwest, New England, th...
Read More
Mini-Split Water Dripping Inside: Emergency Fix Guide
Water dripping from the indoor unit of a mini-split inside your hom...
Read More
Mini-Split for Quebec: Cold Climate Guide
Quebec is one of the most active heat pump markets in Canada — the ...
Read More
Best Mini-Split Under $1000: Budget Options That Work
A mini-split system for under $1,000 is achievable on the equipment...
Read More
Mini-Split for Airbnb Hosts: What You Need to Know
A mini-split is one of the most guest-friendly climate control solu...
Read More