


Installing a MrCool DIY mini-split is designed to be completed by a homeowner without an HVAC licence — the system uses pre-charged quick-connect line sets that eliminate the need for a vacuum pump, refrigerant manifold gauges, and refrigerant handling certification. A basic installation in an exterior wall takes 4–8 hours for someone comfortable with DIY projects. This guide walks through the complete process step by step.
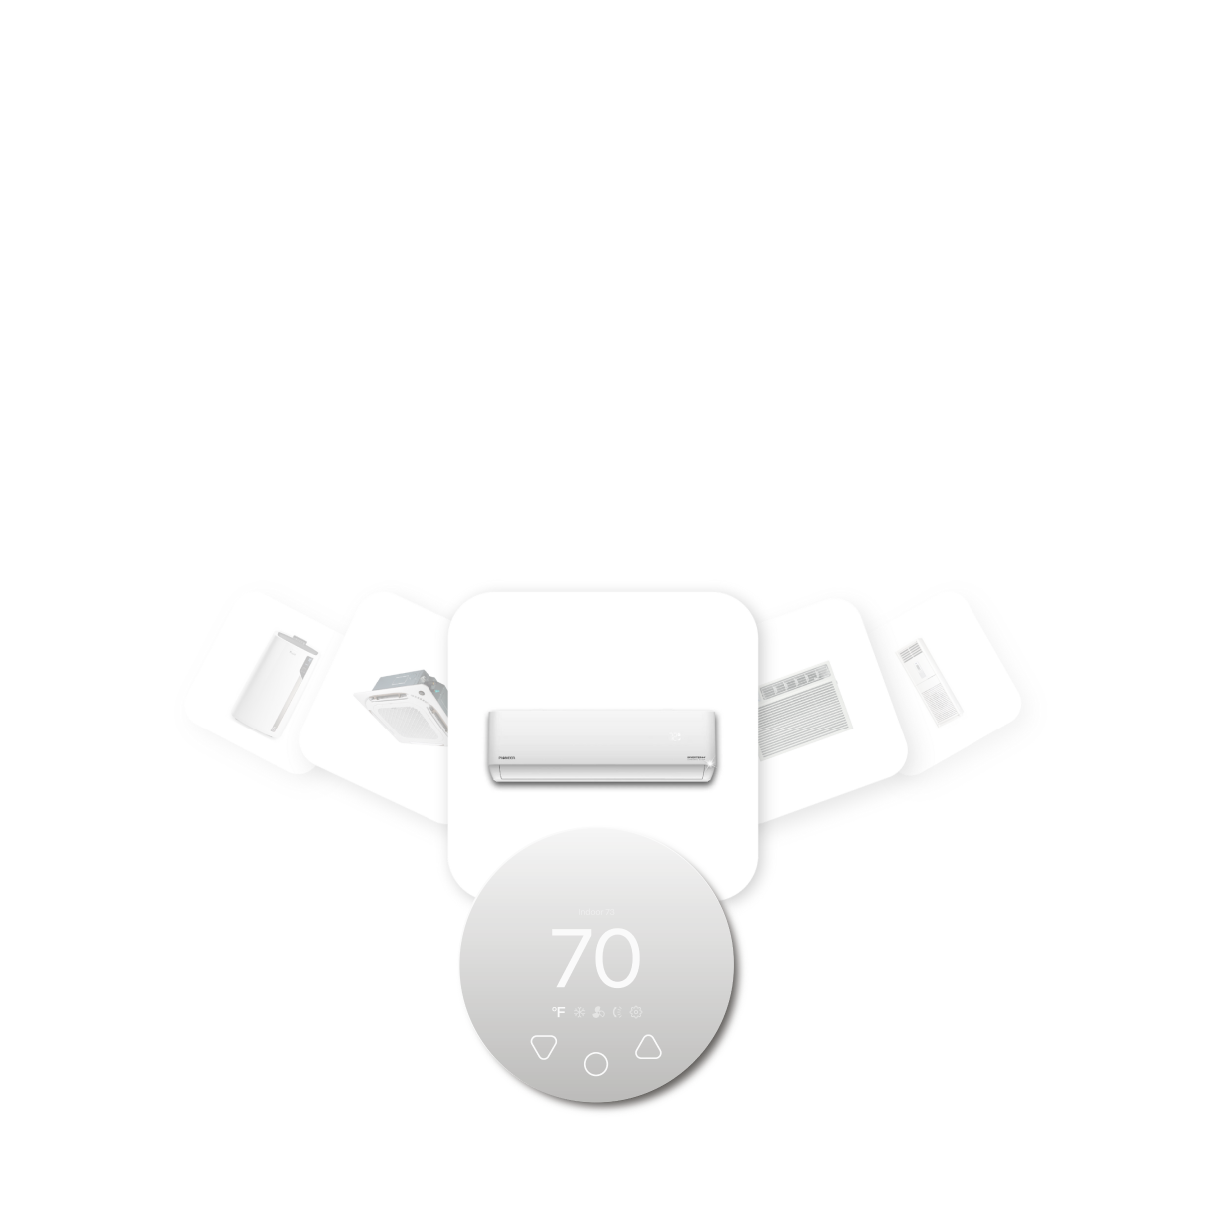
Compatible with all brands of ACs and Mini-Splits
Automate Climate Management
Control remotely
Reduce Energy Consumption
Monitor bills in realtimeKlima - Smart Home Thermostat for Mini-splits, Air Conditioners and Heatpumps
What You Need
- MrCool DIY mini-split kit (indoor unit, outdoor unit, pre-charged line set, mounting hardware)
- Drill with 3-inch hole saw
- Stud finder
- Level
- Screwdriver set
- Adjustable wrench
- Wire stripper
- Voltage tester
- A helper for lifting the outdoor unit
Step-by-Step Installation
Step 1 — Plan the installation location. The indoor unit mounts on an interior wall, typically 6–8 inches from the ceiling. The refrigerant line set must reach the outdoor unit with the pre-charged line set length included (typically 25 ft for most DIY kits). Avoid mounting above windows or in locations where airflow will be blocked.
Step 2 — Mount the wall bracket. Use a stud finder to locate studs. The mounting bracket must be secured to at least one stud or use appropriate wall anchors rated for the unit's weight. Use a level to ensure the bracket is perfectly horizontal — the indoor unit must be level for proper drainage.
Step 3 — Cut the wall penetration. Use a 3-inch hole saw to cut the wall penetration for the line set, drain, and communication wire. The hole should angle slightly downward to the outside to encourage drainage. Install the included wall sleeve.
Step 4 — Route the line set. Carefully uncoil the pre-charged line set and route it from the indoor unit through the wall penetration to the outdoor unit location. Do not kink the line set — kinks restrict refrigerant flow and can permanently damage the lines. Avoid sharp bends under 6 inches of radius.
Step 5 — Mount the outdoor unit. The outdoor unit must be mounted on a level pad or wall bracket at least 6 inches off the ground. Ensure at least 12 inches of clearance on all sides for airflow. Use the included vibration isolation pads between the unit and the mounting surface.
Step 6 — Connect the line set. Connect the pre-charged quick-connect fittings at both the indoor and outdoor units. Hand-tighten until you feel resistance, then tighten an additional quarter turn. Do not overtighten — the Schrader valve inside the fitting opens automatically when properly connected. The quick-connect system means no refrigerant is released during connection.
Step 7 — Connect the communication wire. Connect the communication wire (typically 4-conductor) to the matching terminals on both the indoor and outdoor units. Match wire colors exactly to the terminal labels (1, 2, 3, G or similar). A wiring mistake here causes the E6 communication error.
Step 8 — Connect electrical power. The outdoor unit requires a dedicated 230V circuit. Connect the power wires to the outdoor unit's terminal block per the wiring diagram in the installation manual. This step requires a licensed electrician in most US states and Canadian provinces. Do not energize the system until the electrical connection is complete and correct.
Step 9 — Install the drain line. Connect the condensate drain line from the indoor unit and route it to a suitable drain location — outside through the wall, to a floor drain, or to a condensate pump if the unit is below drain level. Ensure the drain has a continuous downward slope with no low spots that can trap water.
Step 10 — Power on and test. Restore power at the breaker. Wait 3 minutes for the compressor protection timer. Turn on with the remote in COOL mode and verify cold air output within 5–10 minutes. Check that the outdoor unit fan is spinning and the compressor is running (audible hum).
Common DIY Installation Mistakes
| Mistake | Result | Prevention |
|---|---|---|
| Kinked line set | Poor cooling, compressor damage | Uncoil slowly; maintain 6+ inch bend radius |
| Under-tightened quick-connect | Refrigerant leak — E2 code within days | Hand-tight plus quarter turn; verify both ends |
| Incorrect communication wire termination | E6 error — unit will not operate | Match wire numbers/colors exactly at both ends |
| Indoor unit not level | Condensate drains back into room | Use level when mounting wall bracket |
| Drain line with no slope | Water backup — indoor dripping | Ensure continuous downward pitch to drain point |
Frequently Asked Questions
Do I need a permit to install a MrCool DIY mini-split?
In most US jurisdictions, yes. Mechanical and electrical permits are required even for homeowner-installed equipment. The electrical connection (dedicated 230V circuit) requires a licensed electrician and electrical permit in most states. Check with your local building department before beginning — requirements vary by municipality.
How long does MrCool DIY installation take?
Most first-time installers complete a single-zone installation in 4–8 hours spread across one day. Experienced DIYers report 3–5 hours. The most time-consuming steps are the wall penetration, routing the line set, and making the electrical connections.
Related reading:
→ DIY Mini-Split Installation: Can You Do It Yourself?
→ Mini-Split Installation Cost: What to Expect in 2026
→ MrCool Mini-Split Review 2026: Is the DIY Worth It?


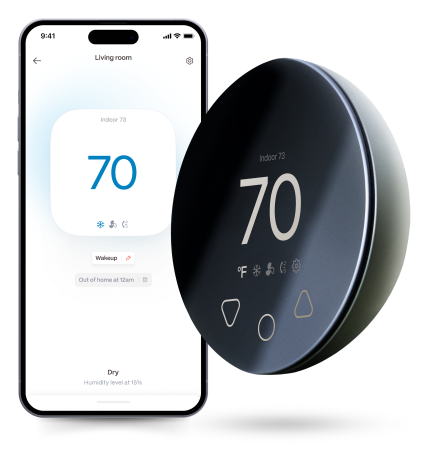
Klima - Smart Home Controller for Mini-splits, Air Conditioners and Heatpumps
Compatible with all brands of ACs and Mini-Splits Automate Climate Management Control remotely Reduce Energy Consumption Monitor bills in realtime
Try NowRecent Articles

Mini-Split Auto Mode Explained: What Does It Actually Do?
Auto mode on a mini-split allows the system to decide whether to he...
Read More
Heat Pump vs Mini-Split: What's the Difference in 2026?
Heat pump vs mini-split is one of the most commonly searched HVAC q...
Read More
Replacing Oil Based Heaters With a Mini-Split (2026 Guide)
Replacing an oil-fired furnace or boiler with a heat pump mini-spli...
Read More
Mini-Split for Wine Cellar: What Works and What Doesn't
A barndominium presents one of the most challenging residential HVA...
Read More
Mini-Split WiFi Keeps Disconnecting: Causes and Permanent Fix
A mini-split's WiFi disconnecting repeatedly — losing connection to...
Read More