


Cleaning the evaporator coil inside your mini-split's indoor unit and the condenser coil on the outdoor unit is the most impactful maintenance task beyond filter cleaning. A dirty coil reduces heat transfer efficiency, increases electricity consumption, and can eventually cause freeze-up or E1 high-pressure faults. Most homeowners should clean the indoor coil annually and the outdoor coil at least once a year — more often in dusty or coastal environments.
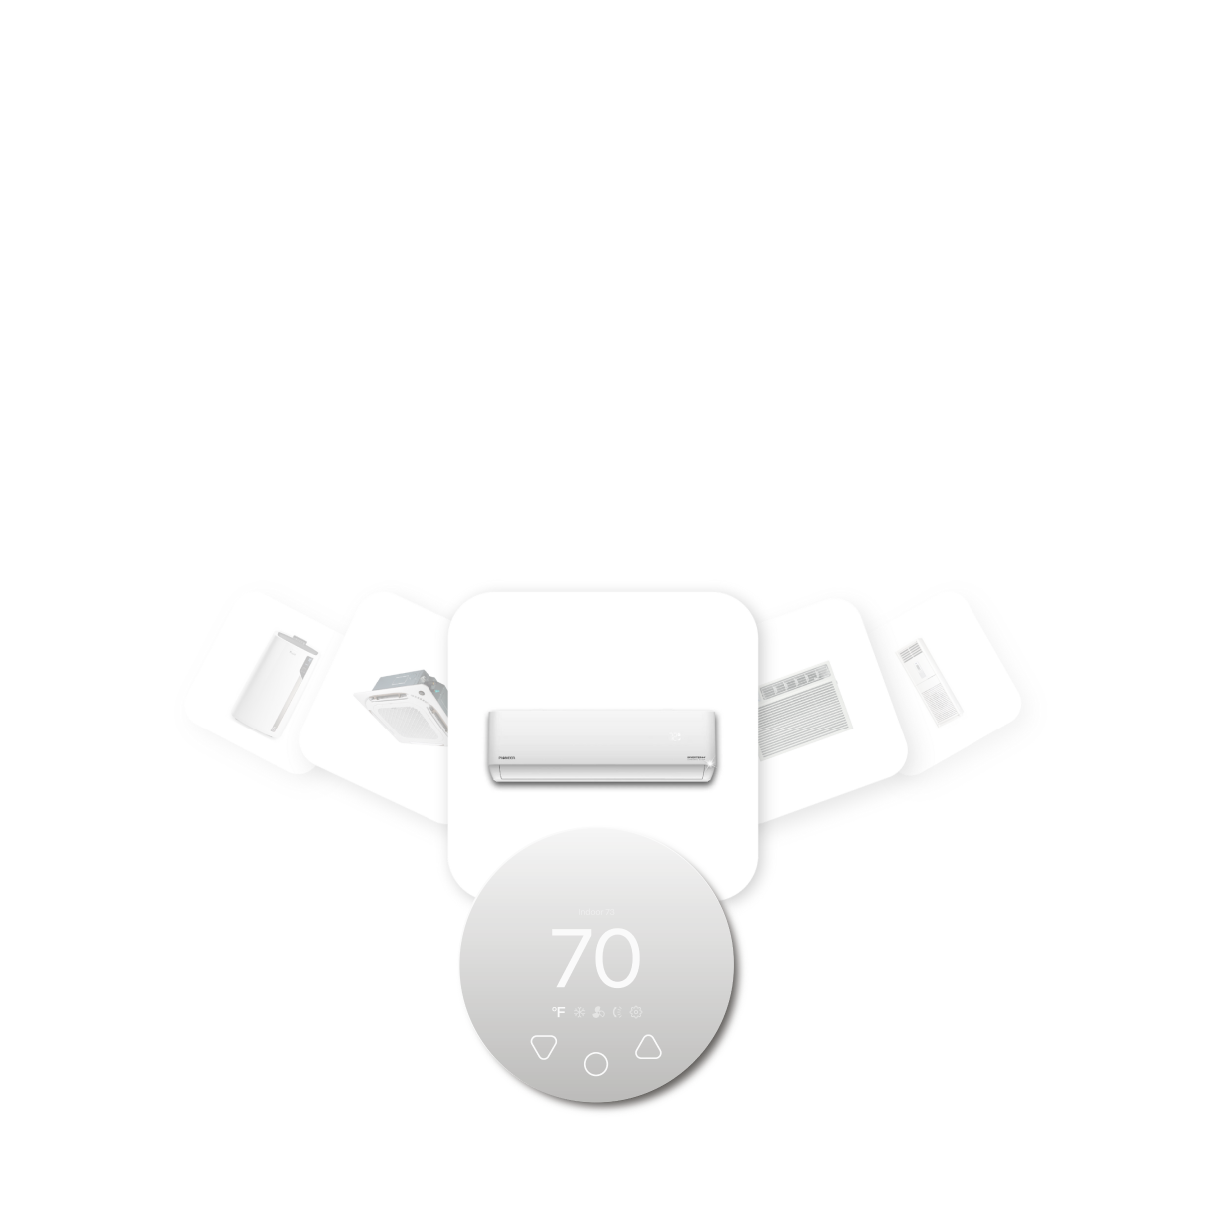
Compatible with all brands of ACs and Mini-Splits
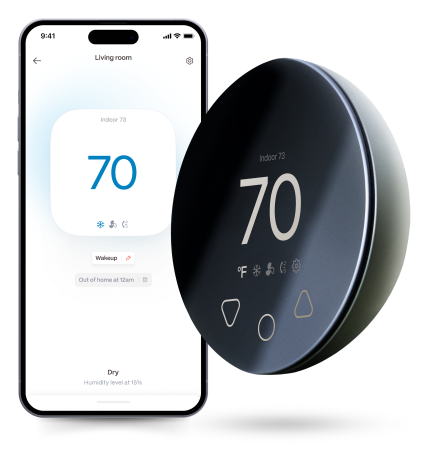
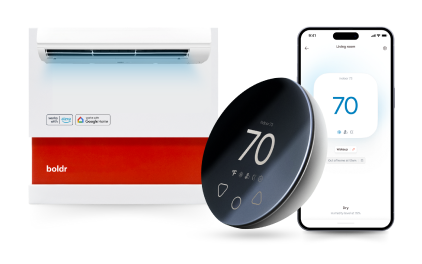
Automate Climate Management
Control remotely
Reduce Energy Consumption
Monitor bills in realtimeKlima - Smart Home Thermostat for Mini-splits, Air Conditioners and Heatpumps
Indoor Coil (Evaporator) Cleaning
The indoor evaporator coil is located directly behind the air filter in the indoor unit. Because the filter catches most airborne particles, the coil accumulates dust more slowly than the filter — but fine particles still get through and build up on the fin surface over months of operation.
What You Need
- No-rinse evaporator coil cleaner spray (available at hardware stores)
- Soft brush or fin comb
- Plastic sheeting or a coil cleaning bag (to protect the wall and catch drips)
- Towels
Step-by-Step
Step 1 — Turn off at the breaker. Never clean a coil with power on.
Step 2 — Remove the filter panels and clean the filters separately under warm water. Let them dry completely.
Step 3 — Access the evaporator coil. On most models, the coil is visible once the filters are removed. Some models require removing an additional plastic cover panel.
Step 4 — Brush loose dust off the fin surface with a soft brush. Work gently — the aluminium fins bend easily.
Step 5 — Apply no-rinse coil cleaner. Spray evenly across the fin surface. The cleaner foams on contact, lifts dirt, and drains away through the condensate drain.
Step 6 — Wait per the product instructions (typically 5–10 minutes). Do not rinse — the foam and dissolved dirt drain away on their own.
Step 7 — Reinstall filters and panels once the coil surface appears clean and the foam has cleared.
Step 8 — Restore power and run in cooling mode for 15 minutes to flush any remaining residue through the drain.
Outdoor Coil (Condenser) Cleaning
The outdoor condenser coil removes heat from the refrigerant to the outdoor air. Dirt, leaves, cottonwood, and grass clippings accumulate on the fin surface and block airflow — causing E1 high-pressure faults and reduced efficiency.
Step-by-Step
Step 1 — Turn off at the breaker.
Step 2 — Remove any debris (leaves, grass, insects) from around and on top of the outdoor unit by hand.
Step 3 — Rinse the coil fins with a garden hose on low pressure. Spray from the inside outward if possible (through the top fan opening), or from outside inward on the fin surface. This flushes debris out rather than deeper into the coil.
Step 4 — Do not use a pressure washer. High pressure bends the aluminium fins and reduces airflow permanently.
Step 5 — Straighten bent fins with a fin comb if any sections are matted — bent fins significantly restrict airflow.
Step 6 — Allow to dry for 15 minutes before restoring power.
How Often to Clean
| Coil | Standard Environment | Dusty / Coastal / Pet Hair |
|---|---|---|
| Indoor evaporator coil | Once per year (spring before cooling season) | Twice per year |
| Outdoor condenser coil | Once per year (spring) | Twice per year; additionally after cottonwood season |
Frequently Asked Questions
Can I clean the indoor coil without professional help?
Yes — no-rinse coil cleaner is designed for DIY use and does not require disassembling refrigerant connections. The main risk is bending the aluminium fins, which is avoided by working gently and using a soft brush rather than stiff tools.
How do I know if my coil needs cleaning?
Signs of a dirty coil: reduced cooling output with no other fault, higher electricity bills, longer time to reach setpoint, or visible grey/black accumulation on the fin surface when you inspect the coil with the filters removed.
Related reading:
→ How to Clean a Mini-Split Filter (Takes 5 Minutes)
→ Mini-Split Maintenance Guide: What to Do Every Season
→ Mini-Split E1 Error Code: Causes and Fixes for Every Brand


Klima - Smart Home Controller for Mini-splits, Air Conditioners and Heatpumps
Compatible with all brands of ACs and Mini-Splits Automate Climate Management Control remotely Reduce Energy Consumption Monitor bills in realtime
Try NowRecent Articles

Mini-Split Auto Mode Explained: What Does It Actually Do?
Auto mode on a mini-split allows the system to decide whether to he...
Read More
Heat Pump vs Mini-Split: What's the Difference in 2026?
Heat pump vs mini-split is one of the most commonly searched HVAC q...
Read More
Replacing Oil Based Heaters With a Mini-Split (2026 Guide)
Replacing an oil-fired furnace or boiler with a heat pump mini-spli...
Read More
Mini-Split for Wine Cellar: What Works and What Doesn't
A barndominium presents one of the most challenging residential HVA...
Read More
Mini-Split WiFi Keeps Disconnecting: Causes and Permanent Fix
A mini-split's WiFi disconnecting repeatedly — losing connection to...
Read More