


Most mini-split problems — poor performance, premature failure, refrigerant leaks, and warranty voids — trace back to installation errors made during the initial setup. Whether you hired a contractor or installed a DIY system, understanding these mistakes helps you verify the job was done correctly and catch problems early. Here are the seven most common mini-split installation mistakes and what to look for.
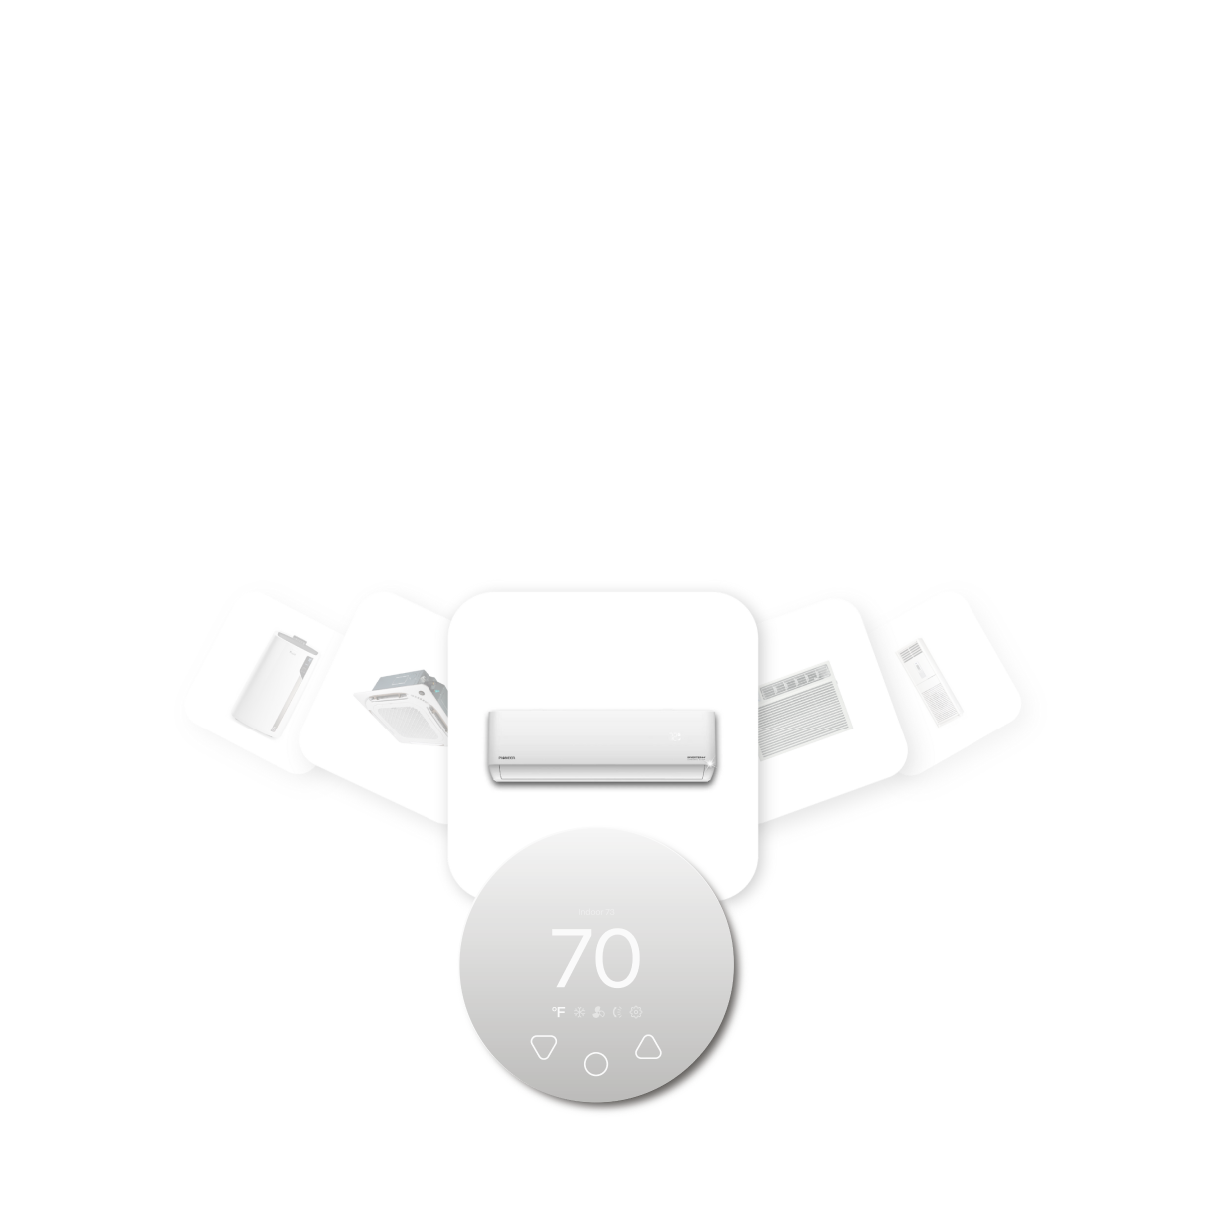
Compatible with all brands of ACs and Mini-Splits
Automate Climate Management
Control remotely
Reduce Energy Consumption
Monitor bills in realtimeKlima - Smart Home Thermostat for Mini-splits, Air Conditioners and Heatpumps
Mistake 1: Wrong BTU Sizing
Too large: The unit cools the space so quickly it short-cycles — turning on and off repeatedly without running long enough to dehumidify the air. The result is a room that feels cold and clammy. Short cycling also accelerates compressor wear.
Too small: The unit runs continuously but cannot reach the setpoint on hot or cold days. Energy bills are high and comfort is poor.
How to check: Use 20 BTU per square foot as a baseline and verify your installer performed a load calculation rather than just "eyeballing" the size.
Mistake 2: Indoor Unit Not Level
The indoor unit must be perfectly level for the condensate drain to flow properly. Even a slight tilt toward the room causes water to back up and drip from the front panel — appearing as an indoor leak.
How to check: Place a level on top of the indoor unit after installation. It should show perfectly horizontal in both directions.
Mistake 3: Undersized Breaker or Wrong Wire Gauge
Using a breaker smaller than the unit's Minimum Circuit Ampacity (MCA) or wire that is too thin for the load creates an immediate safety and performance hazard. The breaker will trip under normal load or — worse — the wiring overheats without tripping.
How to check: Find the unit's nameplate on the outdoor unit. Verify the breaker size matches the Maximum Overcurrent Protection (MOCP) rating on the nameplate and that the wire gauge is appropriate for the circuit amperage and length.
Mistake 4: Under-Torqued Flare Connections
Flare connections (the joints where the copper line set connects to the indoor and outdoor units) must be torqued to manufacturer specification using a torque wrench. Under-torqued flares leak refrigerant slowly — often not detectible immediately, but resulting in E2 error codes and reduced performance within weeks to months.
How to check: Ask your installer if they used a torque wrench on the flare connections. If uncertain, have the system leak-tested with nitrogen pressure before commissioning.
Mistake 5: Kinked or Improperly Supported Line Set
A kinked line set restricts refrigerant flow, reducing system capacity and potentially damaging the compressor. An unsupported line set vibrates during operation, causing fatigue cracking at connection points over time.
How to check: Inspect the entire line set run. There should be no kinks or sharp bends (minimum 6-inch bend radius). The line set should be supported at regular intervals — every 4–6 feet — with appropriate clamps.
Mistake 6: Drain Line Without Adequate Slope
The condensate drain must slope continuously downward from the indoor unit to the drain point — a minimum of 1/4 inch per foot. Any low spots or uphill sections trap water, eventually causing the drain pan to overflow and water to drip inside.
How to check: Trace the drain line from the indoor unit to its discharge point. It should slope consistently downward with no dips or horizontal runs.
Mistake 7: Outdoor Unit with Insufficient Clearance
The outdoor unit needs clear airflow on all sides. Most manufacturers require a minimum of 12 inches clearance on the sides and rear, and 24 inches in front of the discharge fan. Installing too close to a wall, fence, or vegetation causes the E1 high-pressure fault and reduces efficiency significantly.
How to check: Measure the clearance on all four sides and above the outdoor unit. Check your specific model's installation manual for the exact required clearances.
Frequently Asked Questions
How do I know if my mini-split was installed correctly?
Signs of a correct installation: the unit cools or heats to setpoint within 15–20 minutes on a moderate day, no water dripping from the indoor unit, no error codes in the first week of operation, the outdoor unit sounds like a steady hum (not knocking or rattling), and there is no visible kinking or sagging in the line set.
Can a bad installation void my warranty?
Yes. Most manufacturers require installation by a certified technician and pull required permits. Installation errors — wrong breaker size, improper flare torque, incorrect refrigerant charge — can void warranty coverage if the manufacturer determines the failure was caused by improper installation rather than a product defect.
Related reading:
→ Mini-Split Installation Guide: The Complete Process
→ Do You Need a Permit to Install a Mini-Split?
→ Mini-Split Leaking Water Inside? Causes and Fixes


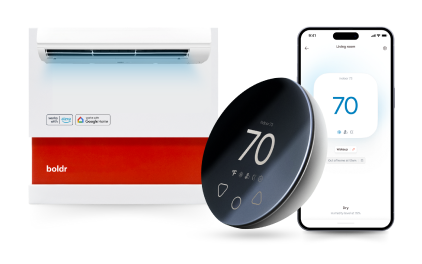
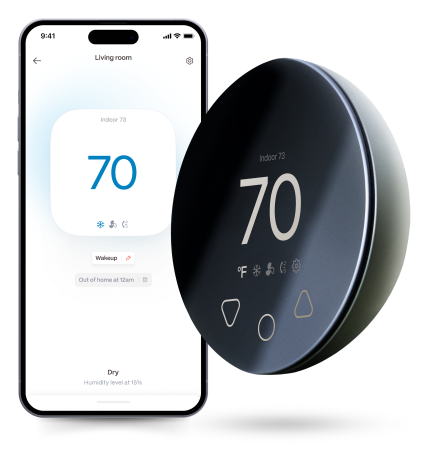
Klima - Smart Home Controller for Mini-splits, Air Conditioners and Heatpumps
Compatible with all brands of ACs and Mini-Splits Automate Climate Management Control remotely Reduce Energy Consumption Monitor bills in realtime
Try NowRecent Articles

Why Is My Mini-Split Leaking Water Indoors?
A mini-split should remove condensation through its drain system du...
Read More
Can You Run a Mini-Split With Solar Panels?
Solar panels can help power a mini-split, but most homes do not con...
Read More
Can a Mini-Split Run on a Generator During a Power Outage?
A mini-split can potentially run from a properly selected generator...
Read More
Mini-Split Defrost Mode Explained: Why Your Heat Stops in Winter
Your mini-split is heating normally when the indoor fan suddenly sl...
Read More
Does a Mini-Split Bring Fresh Air Into the House?
Most conventional wall-mounted mini-splits do not bring fresh outdo...
Read More