


Installing a mini-split involves mounting an indoor unit on the wall, placing an outdoor unit outside, connecting the two with refrigerant lines and electrical wiring, and commissioning the system. The question most homeowners face is whether to hire a professional HVAC contractor or attempt a DIY installation using one of the pre-charged kits available on the market. This guide explains both paths — the full installation process, what each approach costs, and the trade-offs involved.
Professional vs DIY: Quick Comparison
| Factor | Professional Installation | DIY Installation |
|---|---|---|
| Total cost (single zone) | $2,000–$5,000 | $1,200–$2,500 |
| Time | 3–8 hours | 4–12 hours (first-time) |
| Refrigerant handling | Included (tech is EPA-certified) | Pre-charged lines (no handling needed) |
| Warranty | Full manufacturer warranty | May be limited without pro install |
| Permits | Contractor pulls permits | Homeowner responsible |
| Brands available | All brands | MrCool, some Pioneer and Senville models |
| Electrical work | Included or subcontracted | May need a licensed electrician |
| Risk | Low — insured and guaranteed | Moderate — mistakes can damage equipment |
The Professional Installation Process
Here is what happens when a licensed HVAC contractor installs a mini-split system in your home:
1. Site Assessment and Load Calculation
The technician evaluates the room, measures the space, checks insulation quality, notes window size and orientation, and performs a load calculation (Manual J) to determine the correct BTU size. They identify the best locations for the indoor and outdoor units and plan the routing for the refrigerant line set.
2. Mounting the Indoor Unit
A mounting plate is secured to the wall using lag bolts anchored to studs. The plate must be level and positioned high on the wall — typically 6 to 12 inches below the ceiling. A 3-inch diameter hole is drilled through the exterior wall at a slight downward angle (for condensate drainage).
3. Installing the Outdoor Unit
The outdoor unit is placed on a concrete pad, plastic risers, or a wall-mounted bracket. It needs at least 12 inches of clearance on all sides for airflow, and should be protected from direct snowfall or debris in applicable climates. The unit is secured and leveled.
4. Running the Line Set
The refrigerant lines (a liquid line and a suction line), along with the communication wire, power cable, and condensate drain, are routed through the wall hole from the indoor unit to the outdoor unit. The line set is insulated, secured to the wall with clamps, and connected to both units using flare fittings.
5. Vacuum and Pressure Test
Before releasing refrigerant, the technician connects a vacuum pump to the line set to remove all air and moisture from the system. This process (called "pulling a vacuum" or "evacuation") typically takes 30 to 60 minutes to reach the recommended 500 microns of vacuum. The system is then held under vacuum to check for leaks.
6. Releasing Refrigerant and Commissioning
Once the vacuum holds, the technician opens the service valves on the outdoor unit to release the factory-charged refrigerant into the system. The unit is powered on and the technician checks operating pressures, temperature splits, airflow, and drainage. The system is tested in both cooling and heating modes.
7. Electrical Connection
A dedicated circuit breaker (typically 20-amp or 30-amp, 240-volt) is installed in the electrical panel if one does not already exist. The outdoor unit is wired to the breaker, and the indoor unit is connected to the outdoor unit via the communication cable. A disconnect box is installed near the outdoor unit as required by code.
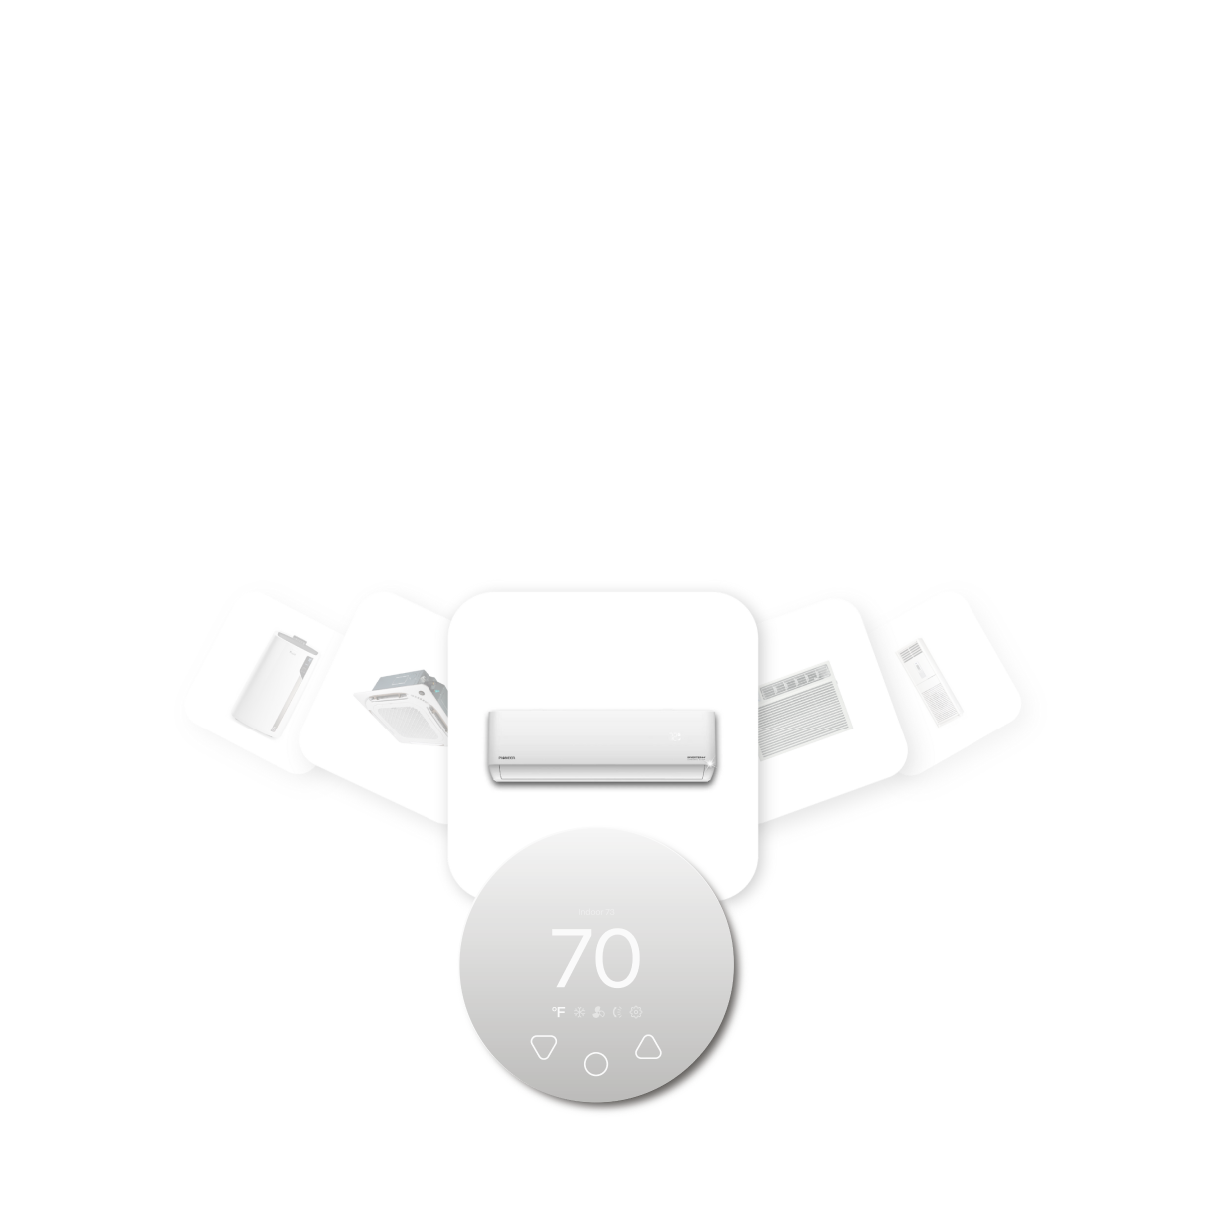
Compatible with all brands of ACs and Mini-Splits
Automate Climate Management
Control remotely
Reduce Energy Consumption
Monitor bills in realtimeKlima - Smart Home Thermostat for Mini-splits, Air Conditioners and Heatpumps
The DIY Installation Process
DIY mini-split kits — most notably from MrCool — come with pre-charged line sets that eliminate the need for vacuum pumps, refrigerant handling, and flare connections. The refrigerant is sealed inside the line set and released when the quick-connect fittings are attached.
The physical installation steps are similar to a professional install: mount the indoor unit, place the outdoor unit, route and connect the line set, wire the electrical connections. The key differences are that no vacuum pump is needed (the pre-charged lines handle this), no EPA certification is required (you never handle bulk refrigerant), and you may still need a licensed electrician for the dedicated circuit.
Tools Required for DIY Installation
A DIY mini-split installation typically requires the following: a drill with hole saw bits (3-inch or larger for the wall penetration), a stud finder, a level, adjustable wrenches (two sizes for line set connections), a screwdriver set, a torque wrench (for flare fittings on non-quick-connect kits), wire strippers, and basic hand tools. If your kit does not include pre-charged lines, you will also need a vacuum pump, manifold gauge set, and micron gauge — these alone can cost $200–$500.
Permits and Code Requirements
Permit requirements vary by jurisdiction but commonly include an electrical permit for the new dedicated circuit (required in most US and Canadian municipalities), a mechanical permit for the refrigerant piping (required in some jurisdictions), and inspection of the completed work by a local building inspector.
In Canada, HVAC work involving refrigerant typically requires certification under provincial regulations (e.g., Ontario's TSSA, BC's Safety Authority). DIY refrigerant handling is not legal in most Canadian provinces unless using a pre-charged system where the refrigerant circuit is never opened.
In the US, handling refrigerant requires EPA Section 608 certification. DIY installations using pre-charged line sets (like MrCool) are designed to avoid this requirement.
Common Installation Mistakes
Improper wall hole angle. The hole through the exterior wall should angle slightly downward toward the outside. If it is level or angled inward, condensate water will drain back into the wall cavity, causing water damage.
Insufficient vacuum (professional installs). Rushing the vacuum process and not reaching 500 microns leaves moisture in the system, which can cause corrosion, compressor damage, and reduced efficiency over time.
Wrong wire size. Using wire that is too thin for the circuit can cause overheating, voltage drop, and breaker trips. Always match the wire gauge to the manufacturer's specification and the circuit breaker size.
Outdoor unit too close to a wall. The outdoor unit needs adequate airflow on all sides. Placing it in a tight corner or against a fence restricts airflow through the condenser coil, reduces efficiency, and can cause overheating.
Not sealing the wall penetration. After running the line set through the wall, the gap around the conduit must be sealed with putty, caulk, or a wall sleeve to prevent air, water, and pest infiltration.
Cost Breakdown: 2026 Pricing
| Component | Professional Install (USD) | DIY Install (USD) |
|---|---|---|
| Equipment (12,000 BTU unit) | $800–$2,000 | $1,200–$2,000 (kit with lines) |
| Installation labor | $800–$2,000 | $0 (your time) |
| Electrical (new circuit) | $200–$600 | $200–$400 (electrician) |
| Permits | Included in contractor fee | $50–$200 |
| Tools and supplies | Included | $50–$150 (if you own basic tools) |
| Total | $2,000–$5,000 | $1,200–$2,500 |
Frequently Asked Questions
Can I install any mini-split brand myself?
Technically you can attempt to install any brand, but only a few brands (primarily MrCool) offer kits specifically designed for DIY installation with pre-charged line sets and maintained warranty. Installing other brands yourself typically requires refrigerant handling tools and EPA certification, and may void the manufacturer warranty.
How long does installation take?
A professional single-zone installation takes 3 to 8 hours. A first-time DIY installation typically takes 6 to 12 hours, depending on experience level and whether the electrical circuit already exists. Multi-zone systems take proportionally longer.
Do I need to hire an electrician separately?
For professional HVAC installations, the contractor often handles electrical work or subcontracts it. For DIY installations, you will likely need a licensed electrician to install the dedicated 240-volt circuit and disconnect box, unless you are licensed to do your own electrical work. This typically costs $200–$400.
What happens if I install the mini-split incorrectly?
Common consequences of improper installation include refrigerant leaks (causing reduced performance and environmental damage), water damage from improperly routed condensate drainage, electrical hazards from incorrect wiring, voided manufacturer warranty, and reduced system efficiency and lifespan.


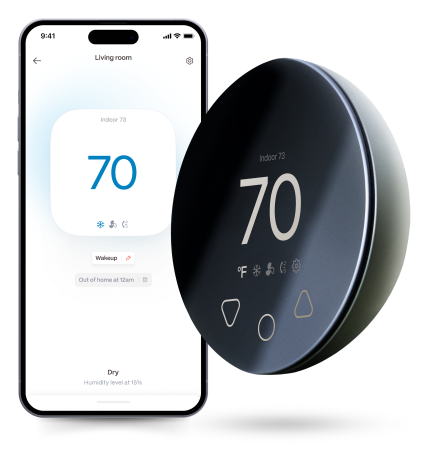
Klima - Smart Home Controller for Mini-splits, Air Conditioners and Heatpumps
Compatible with all brands of ACs and Mini-Splits Automate Climate Management Control remotely Reduce Energy Consumption Monitor bills in realtime
Try NowRecent Articles

Mini-Split vs Central Air: Which Is Better in 2026?
Mini-splits and central air can both cool a home effectively, but t...
Read More
What Does Sleep Mode Do on a Mini-Split?
Sleep mode automatically adjusts a mini-split’s operation during th...
Read More
How Often Should You Clean Mini-Split Filters?
Mini-split filters should generally be inspected every few weeks du...
Read More
How Much Electricity Does a Mini-Split Use?
The amount of electricity a mini-split uses depends on its capacity...
Read More
Should You Leave a Mini-Split On All Day?
\It can be more efficient to let a mini-split maintain a steady tem...
Read More